Thursday, January 19, 2006

Pen Slips

Cut a strip of leather 13 to 15 inches long and 1.5 inches wide. Use a good strong leather, 1.5 ounce or stronger. Don’t use thin appliqué leather as it will just tear. Check out Seymourssi on ebay, great leather.)

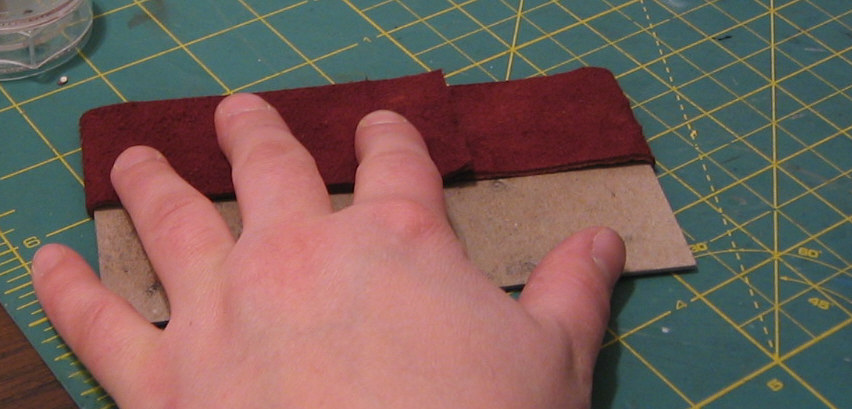
I made a jig for this, as I didn’t want to ding up my covers. Cut a piece of stiff card the size of a mole cover and apply a 2 way glue so that you can work with the leather and not have it move too much on you. I used photo adhesive. You could use a low tack double sided tape.


Position the side of the leather so it lines up with a straight side of the card.

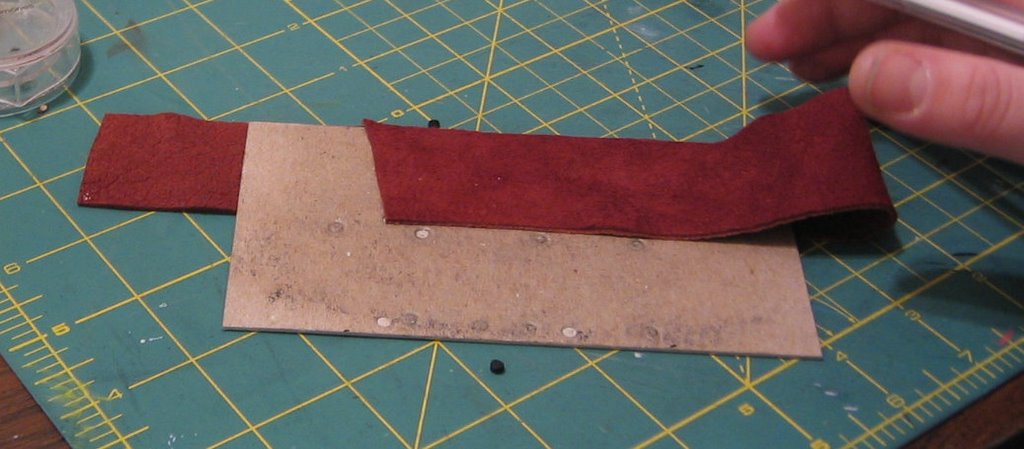
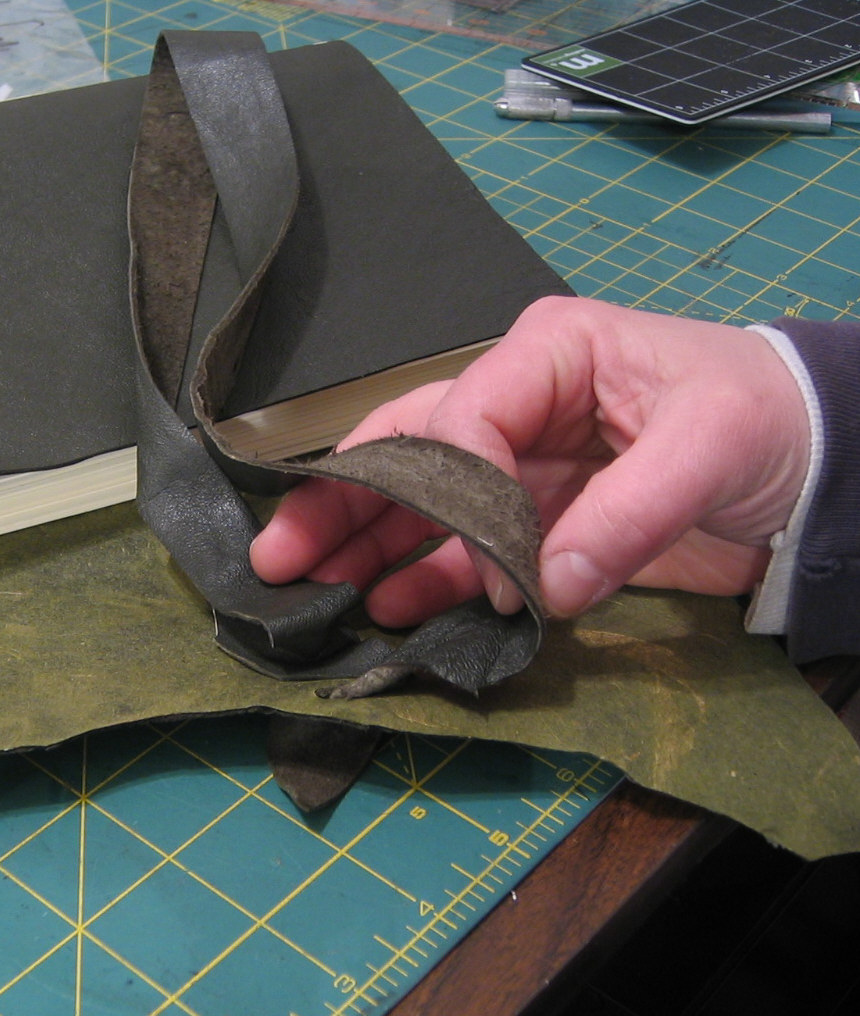
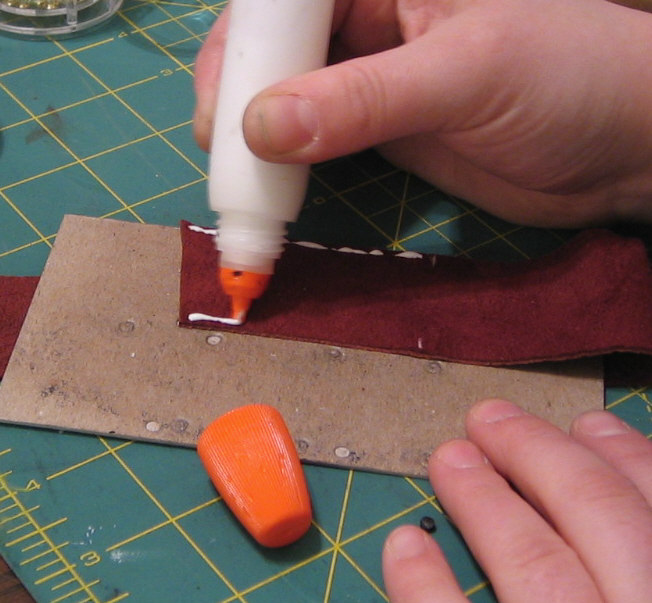
Wrap the leather around the card, slightly stretch the leather and line the edges so they meet. Use a pencil or pen that you can see on the leather, mark the end of your overlap.

Apply a very thin bead of glue to the edge of the leather up to your mark. Now re-line up your leather and press down gently, from the center f the strip out toward the edges. This forces the excess glue out. Wipe up any extra glue that squeezes out.

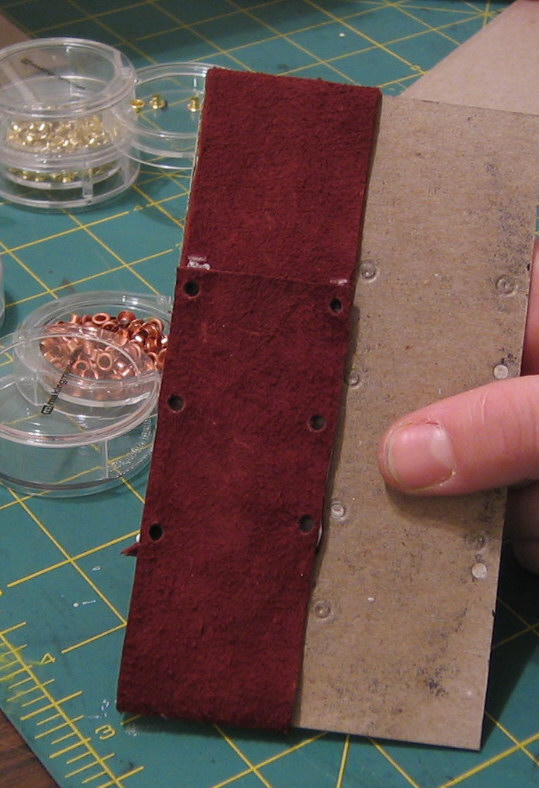
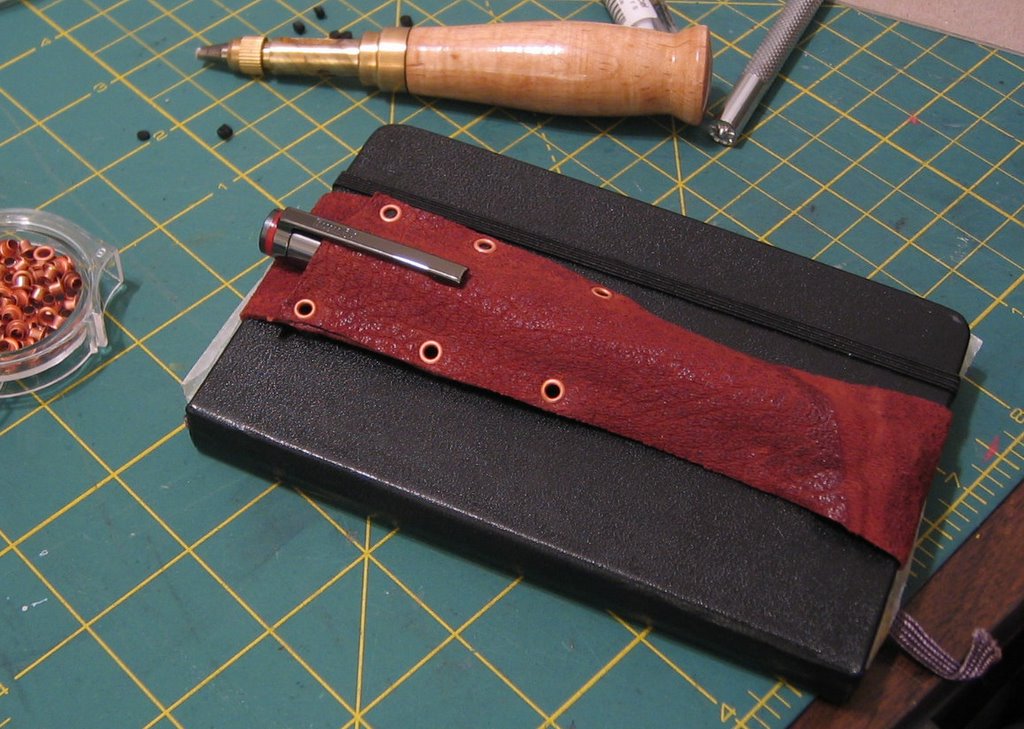
Here you can decide how you’re going to reinforce that glue; you can sew the edges, use rivets, brads, or eyelets. I used eyelets because they give me immediate results and I have ton of them around. Michaels stock a tremendous amount of eyelets, in all sorts of shapes colors and sizes they also have a nice selection of rivet type things that are very cool.

When punching the holes be sure that you place a hole at each corner and in the middle. That’s the only rule, after that go wild.

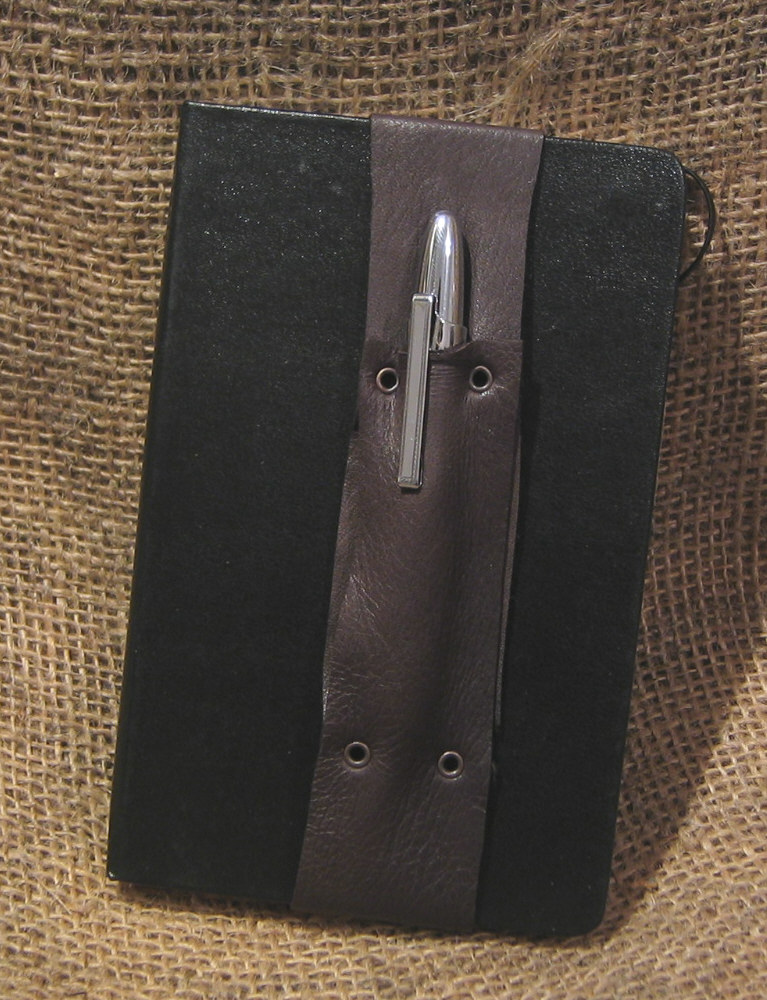
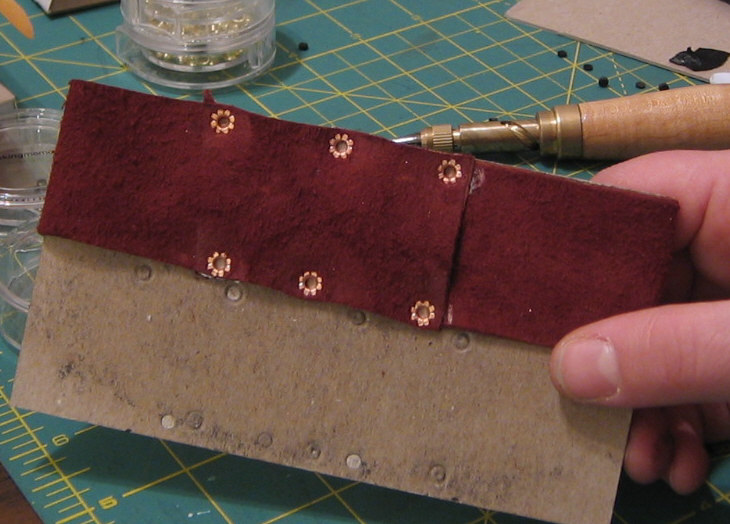
For this I used only 6 eyelets. It was all I needed, I could have added another 4 and made it heavier.

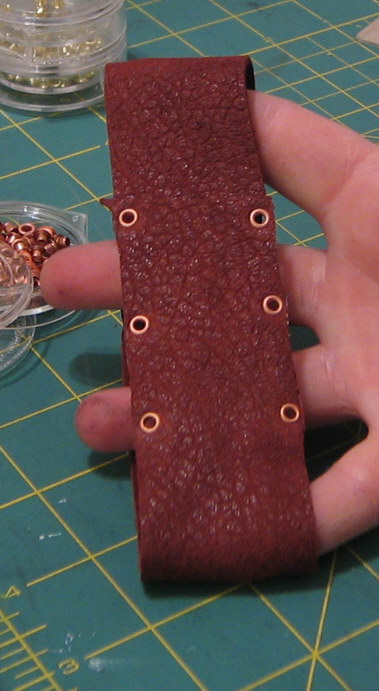
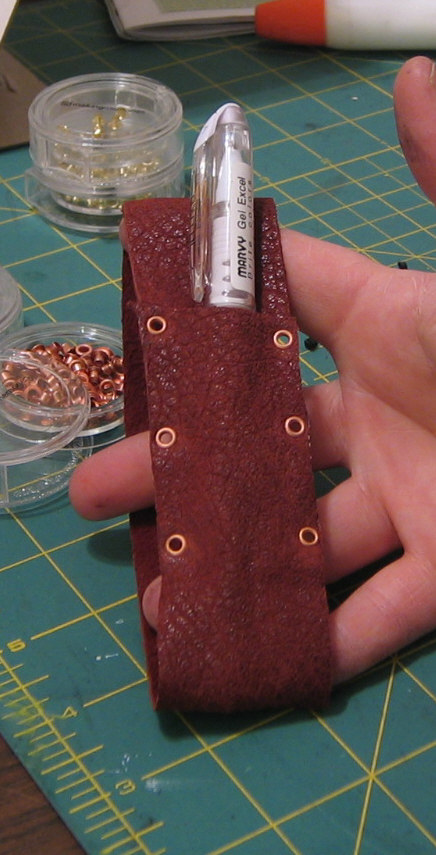
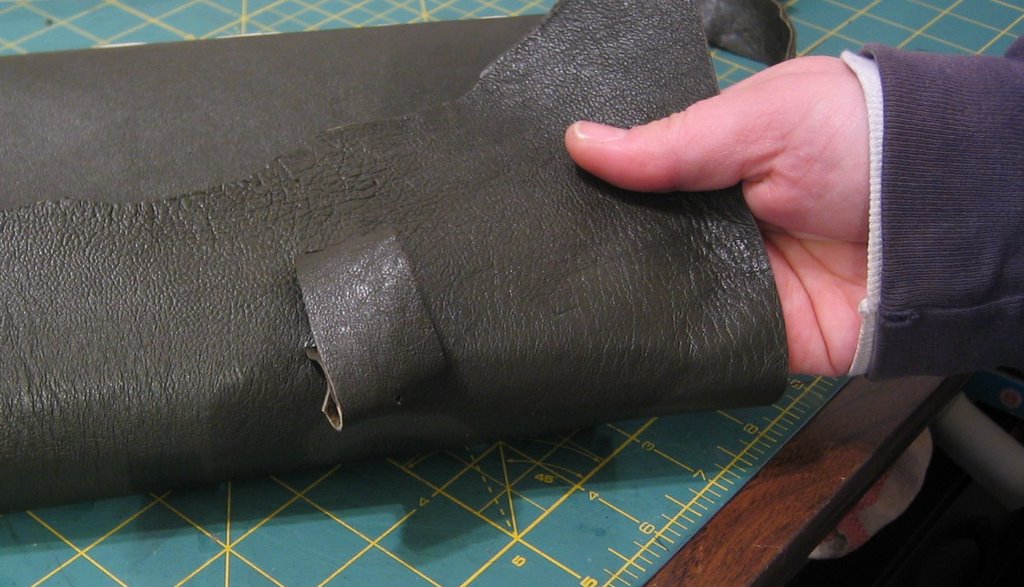
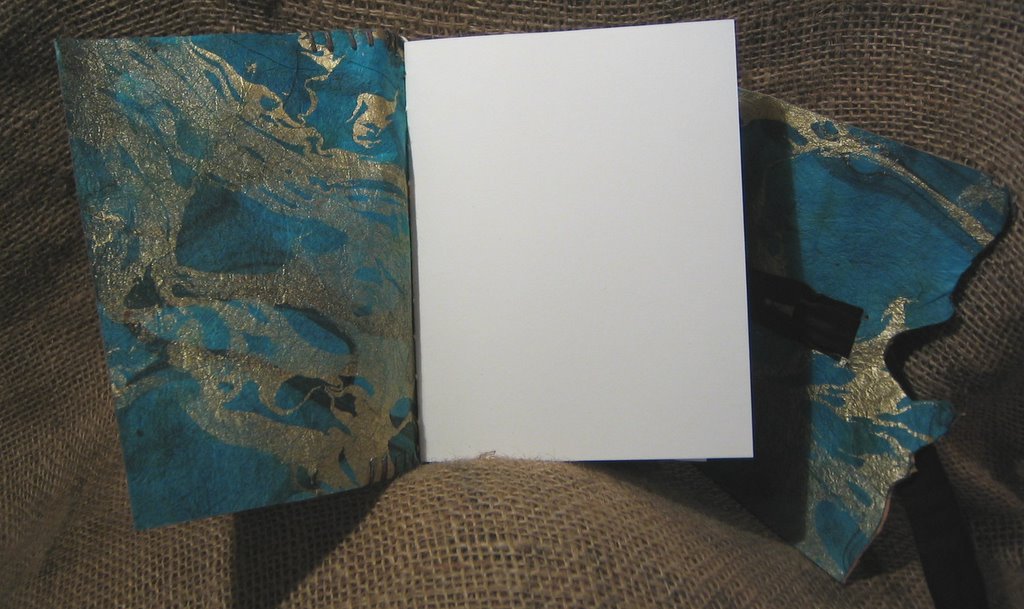
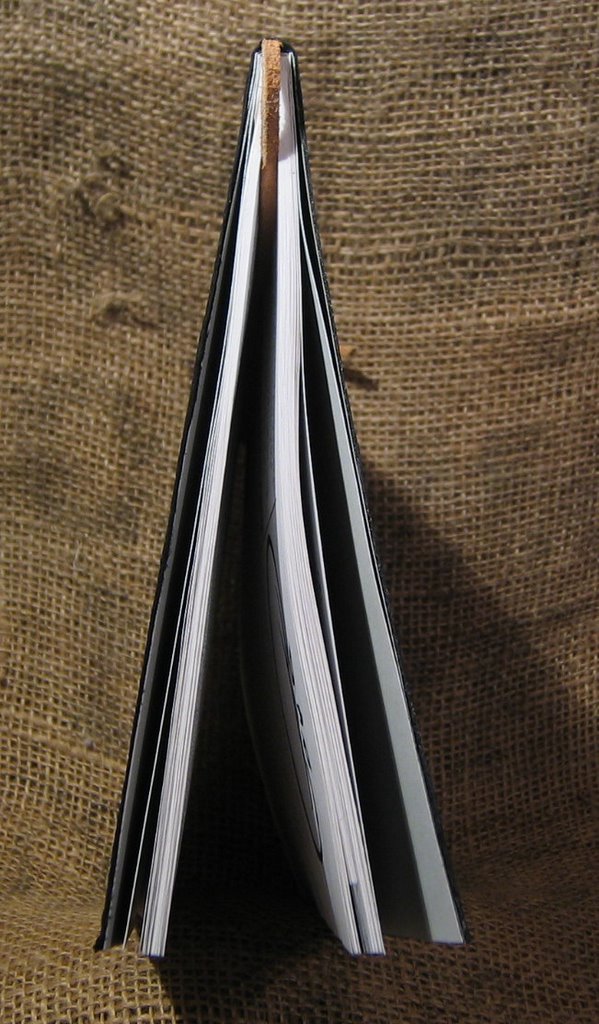
Here are some gratuitous modeling shots of it on my sketch mole; which I have already abused.

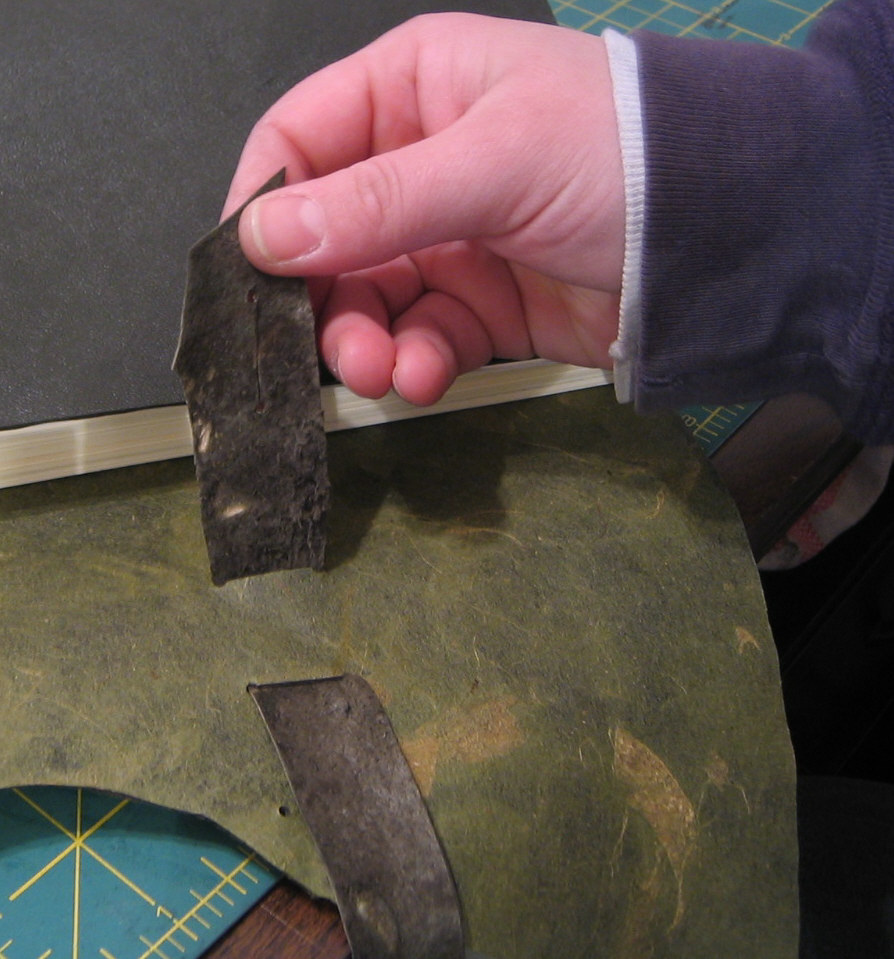
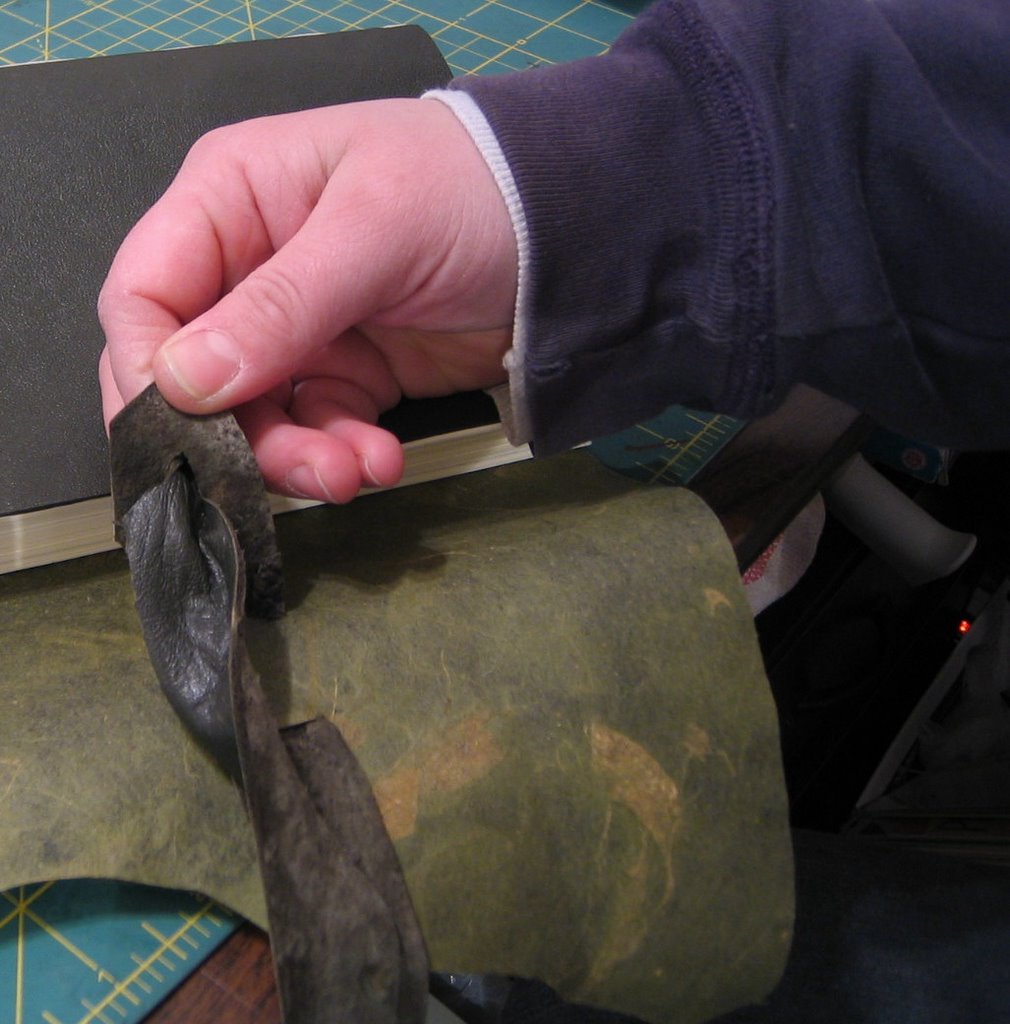
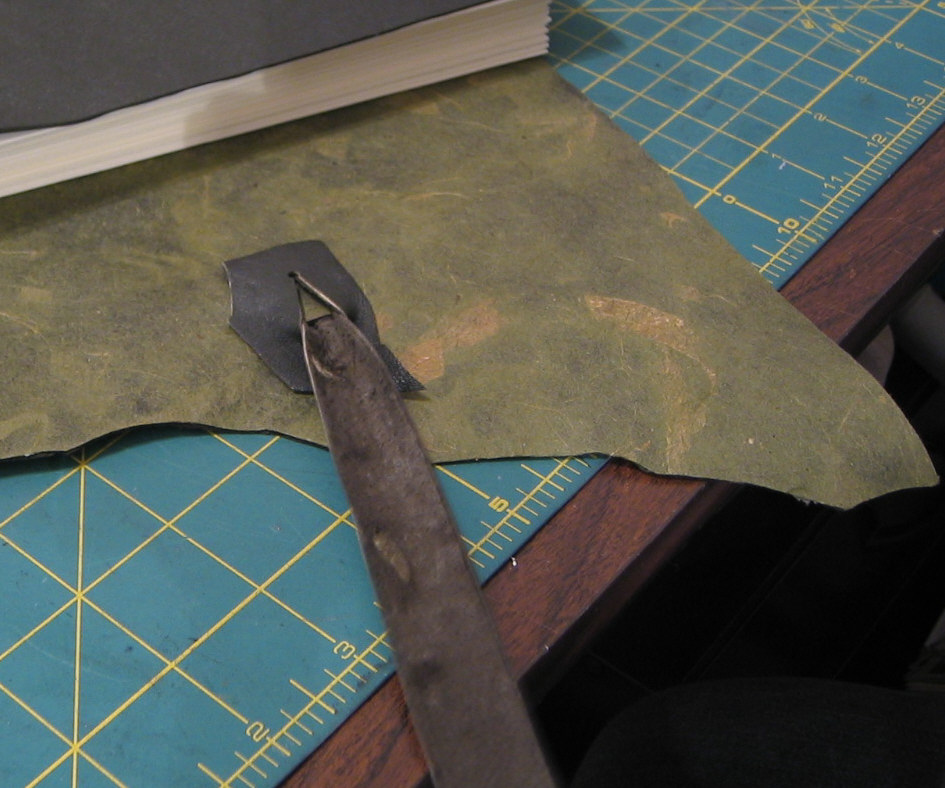
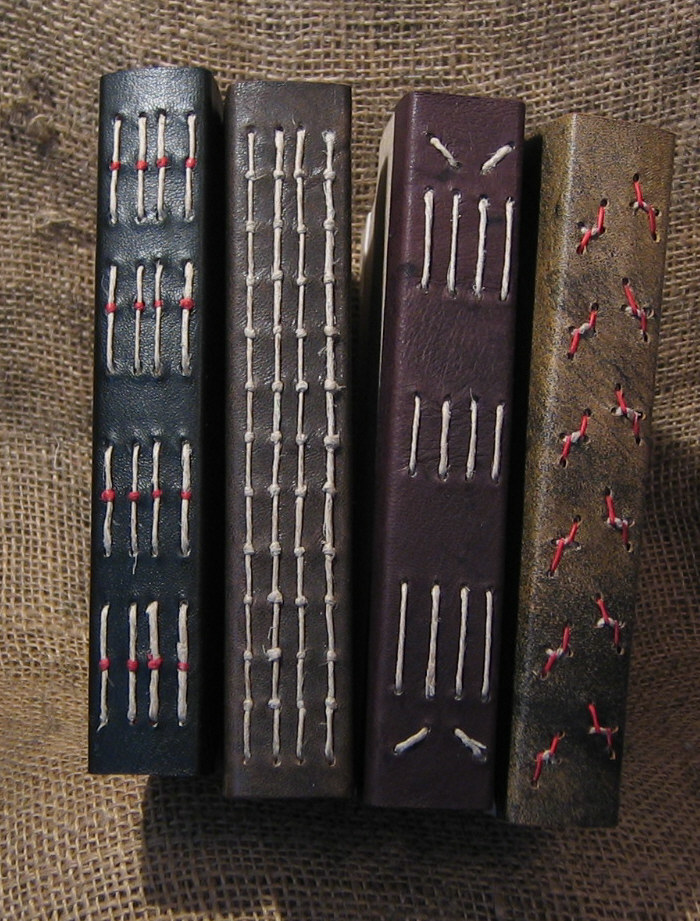
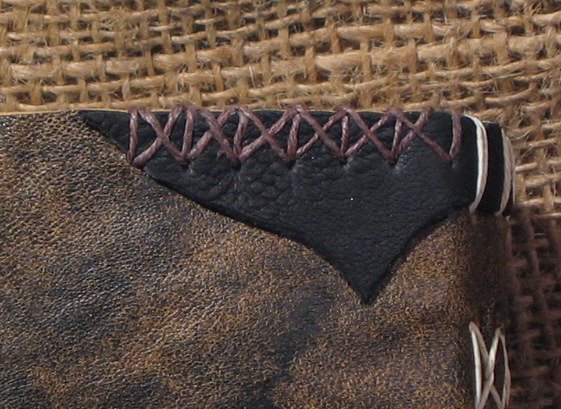
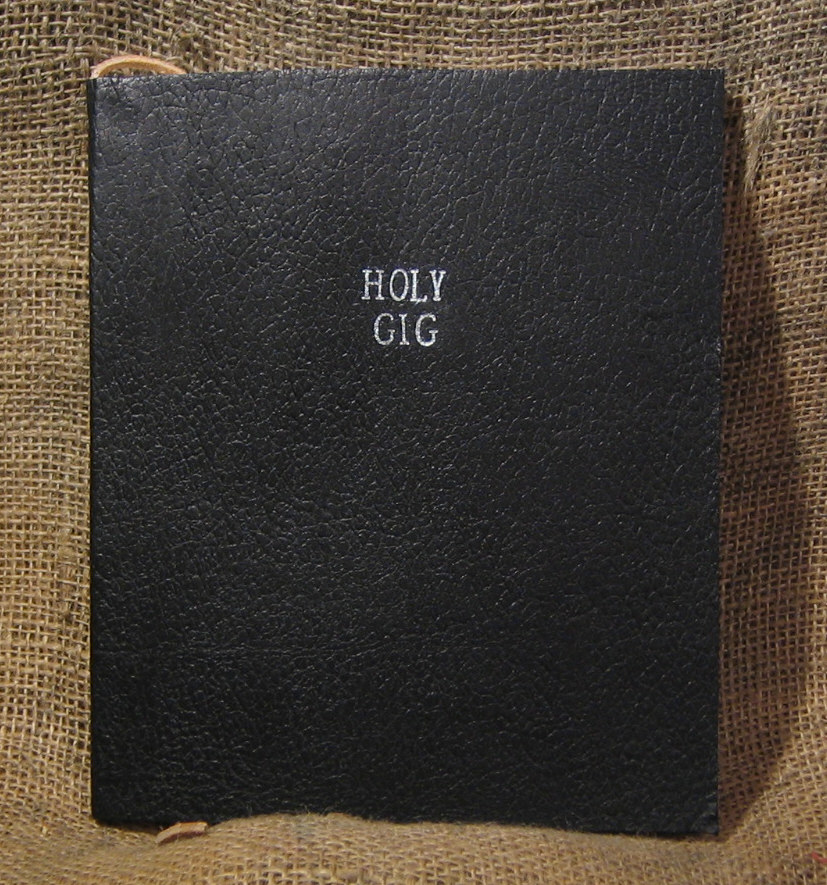
I’ve also included some shots of some proto-types in black. I’m working on them.

Monday, January 16, 2006

Thursday, January 12, 2006

Another Moleskine Hack

I read a page on the moleskinerie recently that had a hack like this. The guy used a ribbon and cut a couple of slots into the ribbon threaded a pen into the slots and glued the ends and slipped it around the cover of his mole and voila! A nifty penholder. I made mine a little different; I used a 1 and a quarter stripe of leather, eyelets to attach and then threaded my pen through the open slot at the top.

It’s not very useful for me because I always keep my space pen in my pocket. I’m going to try and use it for some of my pens but I fits the space pen best, I’m going to try and make a couple of these larger for different sized pens.

They are not exactly easy to make but not hard either. Anyway, check them out.


INstructions later.

Few More Recycled

I’ve been working on the recycled journals again. Below I’ve got 4 that I’ve finished. I made the covers ages ago.

Recently I’ve been having to work insane amounts at work and the only things I’ve been able to really work on without thinking have been these recycled books. I picked some of my favorite single section sewings and did them 4 times across the spines. I also picked a 2-section sewing and doubled it. It made for a nice spine.

I used unbleached natural hemp for all of the sewings.

The spines are leather form my scrap heap, picked for their size and interesting edges. I glued and clamped these to the stiff chipboard.

Anyway, check them out below:


Sunday, January 08, 2006

Renaissance journals

I’ve been working on these books for quite some time. I think that because of all the time I spent they came out better than if I had just done them. I stayed with one of my initial ideas and ditched a few of the others. One of the ideas that I ditched was using the identical straps I used on the other renaissance journal I made. Instead I took one of the straps and split it down the middle changing it a little. Before I did any of this I picked out 2 covers, one distressed sheepskin and one lightly distressed chocolate brown deerskin. I then picked straps to match the covers. I glued them down and clamped them down for a night.

I toyed with several different stitching patterns to hold the straps to the covers. I knew that the glue would hold them well but I needed a little more security to know that they would stay there forever. So I picked a combination of two stitches, an upright and an X pattern. I like how tough it is and how simple it is.

For the stitching on the spine I knew I wanted a simple long stitch but with some linking. So I broke it up and did each journal with the same pattern but different linking on each book. This way they are related but different.

Each journal has 200 strathmore 24lb, 25% cotton pages in cream color. I used natural unbleached Irish linen to sew it and the inner paper is Thai marbled paper in blue and gold.

These were a custom order so they aren’t for sale.


Thursday, January 05, 2006

Holy moley

Anyone who knows me in person knows that I love good joke, the more clever the better. I even enjoy being the butt of good intelligent joke. While I’m not sure this classifies as intelligent it surely made me laugh and made my coworkers laugh.

One of my coworkers is very into enforcing the rules. I applaud him for this, I really do, but I more often than not see him with a copy of the General Information Guide than I do any other member of the leadership team. Of course I had to tease him a little about this. I referred to the “GIG” as his bible and this set a series of humor light bulbs off in my head like flash bulbs. Initially I thought to myself “how funny would he look if the GIG looked like a bible?”. That would be pretty funny. Then I thought, I should rebind a copy of the GIG and give it to him. Black leather… At this point I giggled to myself and decided that it d to be done. At this point I had to share my idea with a coworker, she of course found the idea just as funny as I did. I told her that I wished I’d bought the hot foil-stamping machine I’d seen on ebay so that I could emboss “Holy Bible” on the cover. I realized that wasn’t half as funny (not to mention completely sacrilegious.) as it would be f I embossed “Holy GIG” on the cover.

So last night I came home and headed for the studio and put some recycled end sheets on the book, a hinge, book mark and then finally a black leather cover. I stamped the words on the cover and let it sit in the clamps over night. (I can’t wait until I get my book press!)

So please don’t be offended by the following pictures, it’s all in good fun and I’m pretty sure my coworker will love it.


The details:
It’s an 8x8 inch book one-quarter inch thick with a glue binding. The original covers, now the title page and end page are 110lb card stock. The end sheets are recycled from the same material that I made the meat notebooks from. The hinge is made from 24lb paper. The bookmark is a rawhide shoelace. It’s bound in the same manner as a hedgehog. No glue on the spine (hollow/loose spine) and end sheets glued to the cover. In the back end pages I’ve hidden a clear plastic pocket and some post it tabs. It’s a simple fast and dirty way to add a leather cover to just about anything. If I were to do this again I would spend a little more time to sand away some of the inked paper on the spine so that the glue would adhere a little better. I’m afraid that the glue will give up due the plastic-y nature of the end sheets and the water resistant cover of the GIG. The over all effect was not to make a working long lasting book but a visual impact and from the reaction of my coworkers I think it worked.

If anyone would like this done to thr workplace's "rule" book I'd be happy to do itfor you. Price would depend on the size of the book. One the size of this wold cost about $20.