Tuesday, July 26, 2005

4 up on ebay


I just loaded these 4 journals up to eBay. they are here if your interested: eBay!

2 are watercolor journals and 2 are my pocket sized journals. I also relisted the journal that the person won ad then never paid. *sigh* I always hate that. In my close to 200 items sold on eBay I've had it happen twice. This is the second time. Sometimes things are crazy like that.

I've gone through and organized the studio. So far so good, things look good and thigns are easier to find, or so I hope!

I have to go to a meeting for the DayJob- a long one. I probably won't be home until quite late tonight.

Long time no Write

I've been back in Mass for a couple of days now and this is the first chance I've gotten to write on the studio blog. I had a 5 day stretch of time in my home state of Maine that was simply for relaxing. I didn't do much of anything but enjoy the cool breezy weather. Okay so for at least one day it was hot as heck and humid, but for the most part- cool and breezy. I loved it.

I'm back and getting back intothe swing of both the DayJob and bookbinding. Binding is much easier to get back into the swing of becasue it's never really far from my mind. When I was in Maine I was inspired by some random objects. I also spent some time thinkning about the time when I used to live there. I spent a lot fo time making books, working on everything from Keith Smith's books and devloping my own bindings. I brought back a stack of sample bindings that I bound when i lived there, while they sustained some damage from being in a box, which someone had tossed some pretty heavy things ontop of, they are for the most part intact. I also have some samples of my first coptic sewings. It's pretty funny to look at them and critique them. some are pretty crude, but some it's more interesting to see my notes. As I worked my way through Keith Smith's books, I took notes on everything about the small 4.25X5.5 inch books I was making. I made them out of everything- old notebook paper and magazine pages. Covers ranged from the stiff pages in magazines, to hand decorated papers and spines covered in packing tape. As I started to scan in and take pictures of my spine, I started to think more of how I could make those delicate threads stand out on the spine and made spines accordingly.

I found my "bookbinding" journal. A paper covered journal about 300 pages thick filled with notes, ideas and sketches. I think it will be an invaluable read as I move on in my binding efforts.

Later today and early tomorrow you'll find that I'm loading things back up on eBay. I had intended to load a group of things up before I went on vacation but things got a little hectic!

Monday, July 18, 2005

It's been awhile forgive me please!

It’s been a few days, you’ll have to forgive me, and I’ve been busy. Well obsessively reading Harry Potter, as I said last post- great book fast read. I spent the yesterday with Chris at work and then very ill. Lesson to myself, if milk tastes even a little funny over the food I’m using it to wash down, stop and spit it out. I’ve also been on the phone with people I’ve had to make plans with for our trip and insanely trying to get a hold of Greg, with whom we’re spending a day and a half. It’s hard to make plans with people when they are in different time zones.

All that being said I’ve not done a lot book-wise, I had expected that by today most of my special orders would be finished and they aren’t. I’ve also received several new orders.

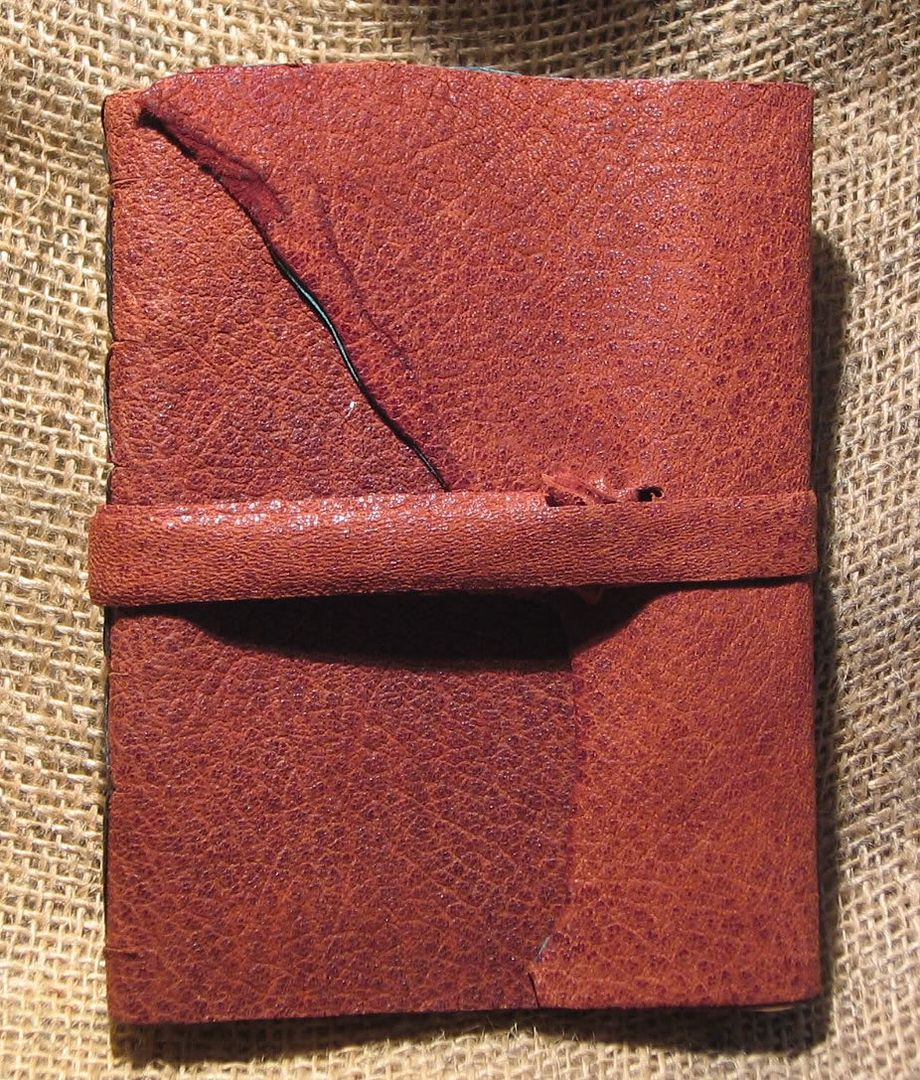
What I have finished is the following:
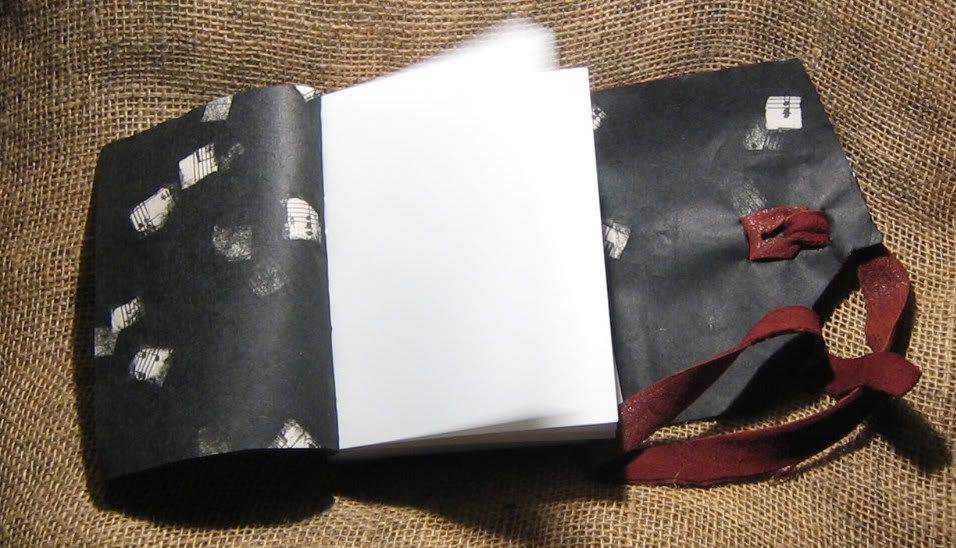
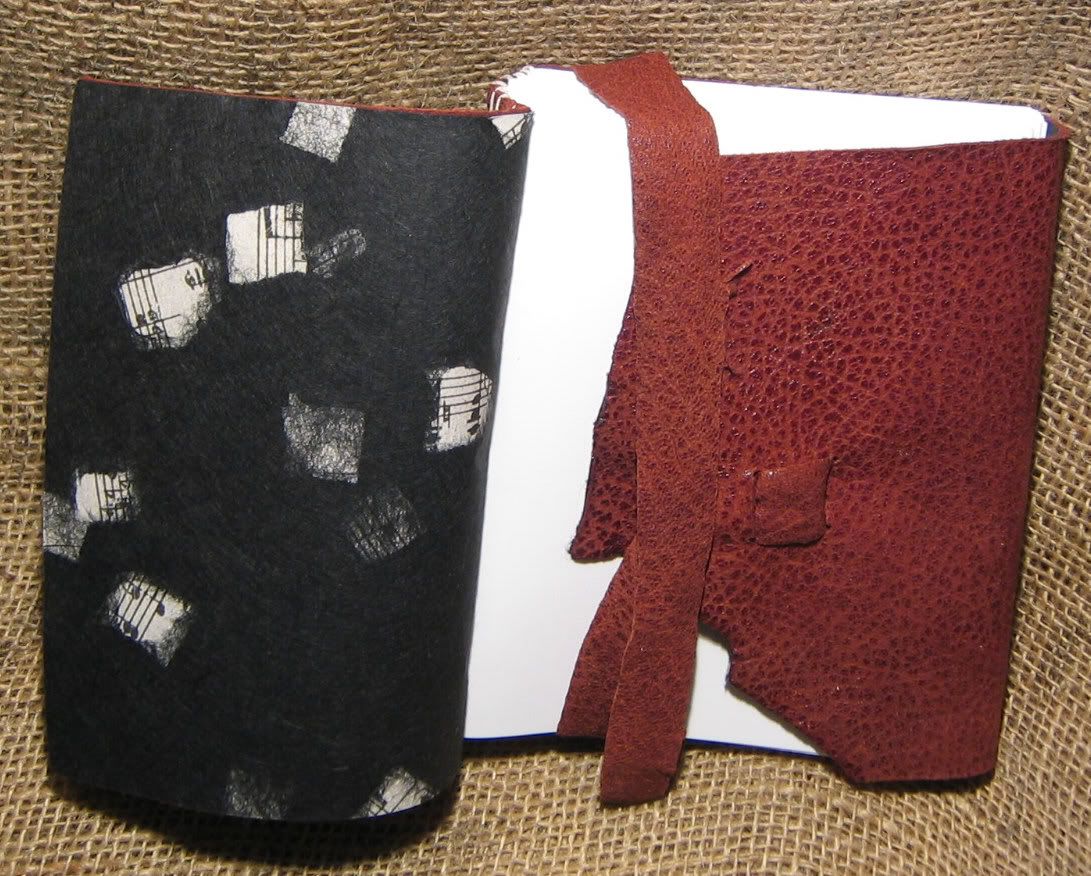
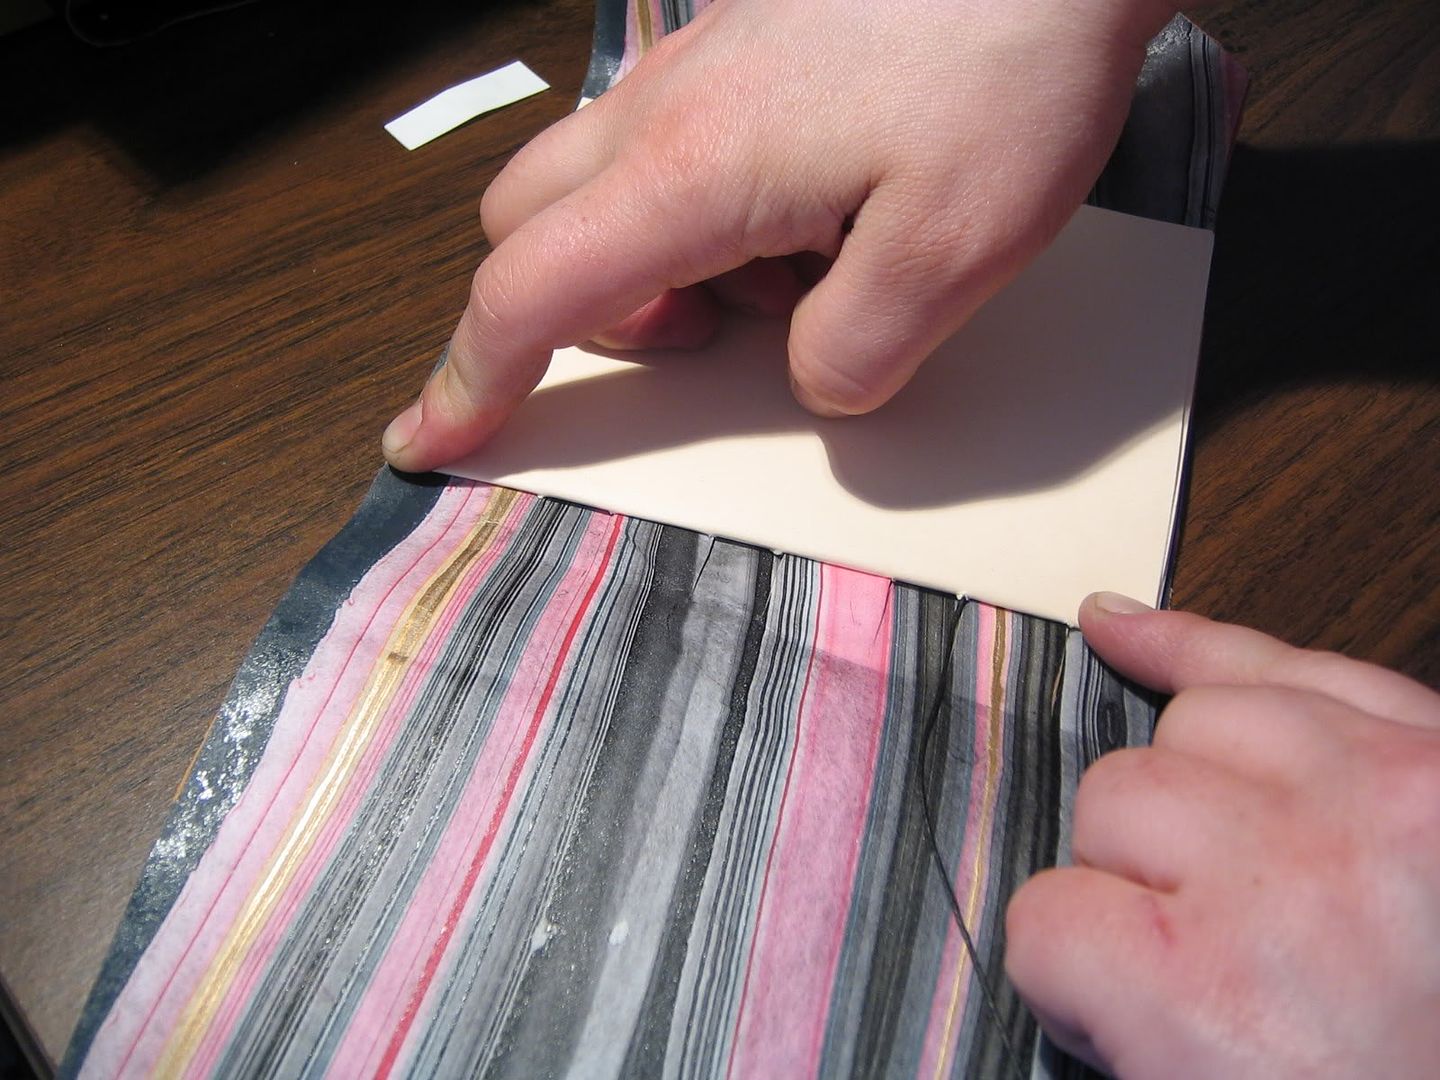
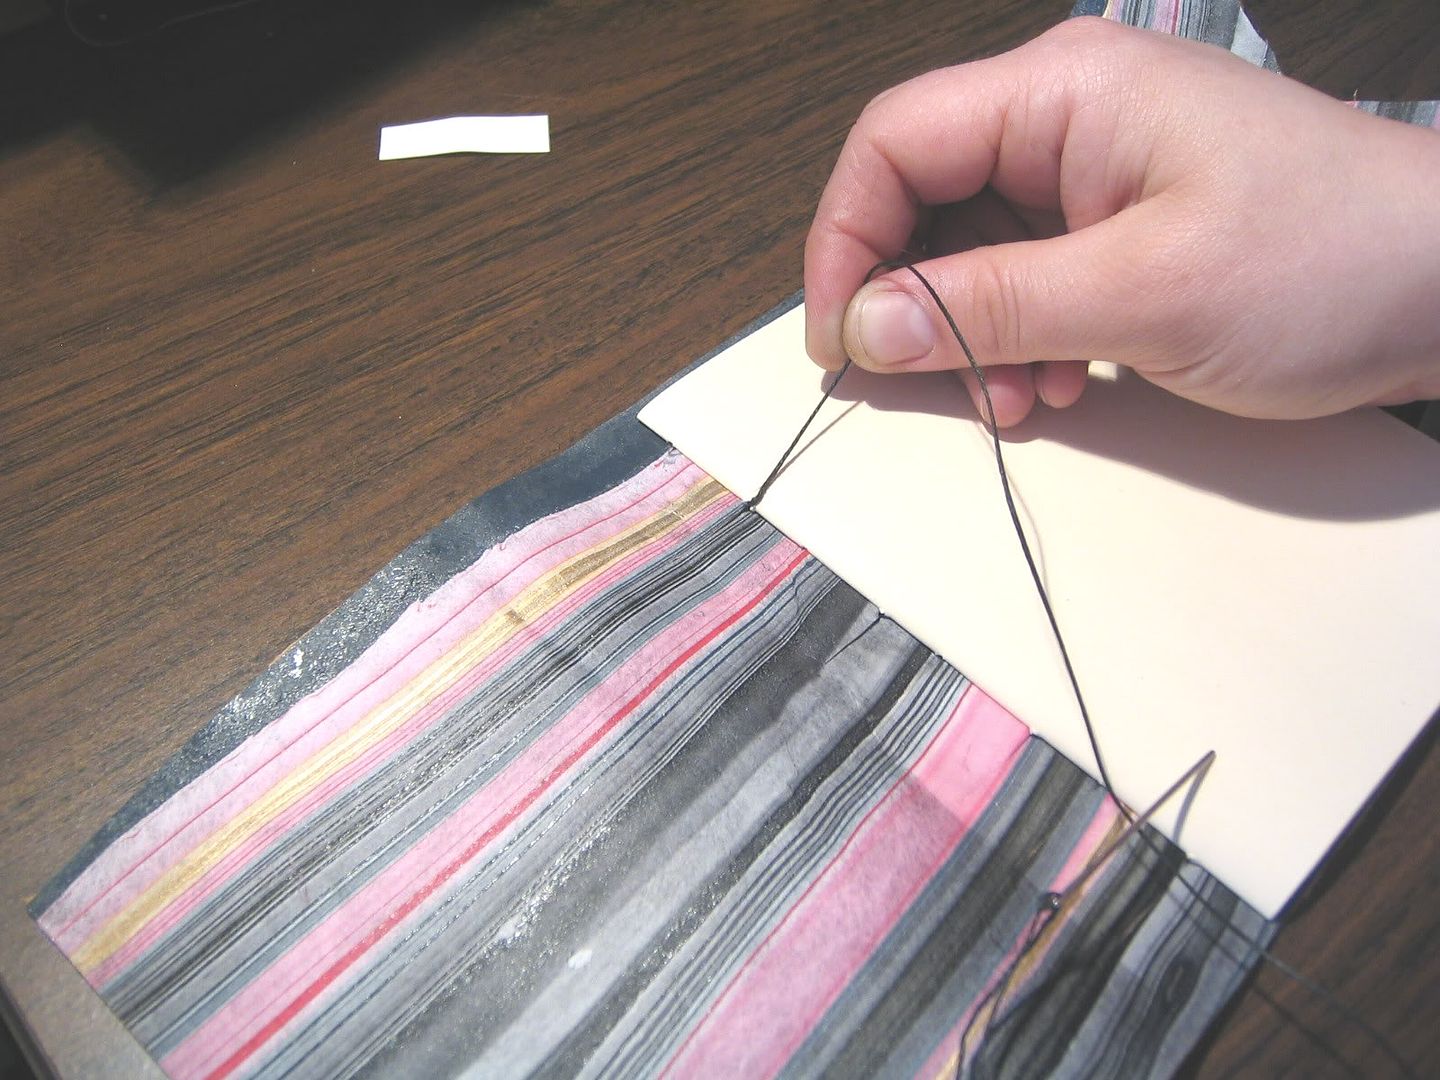
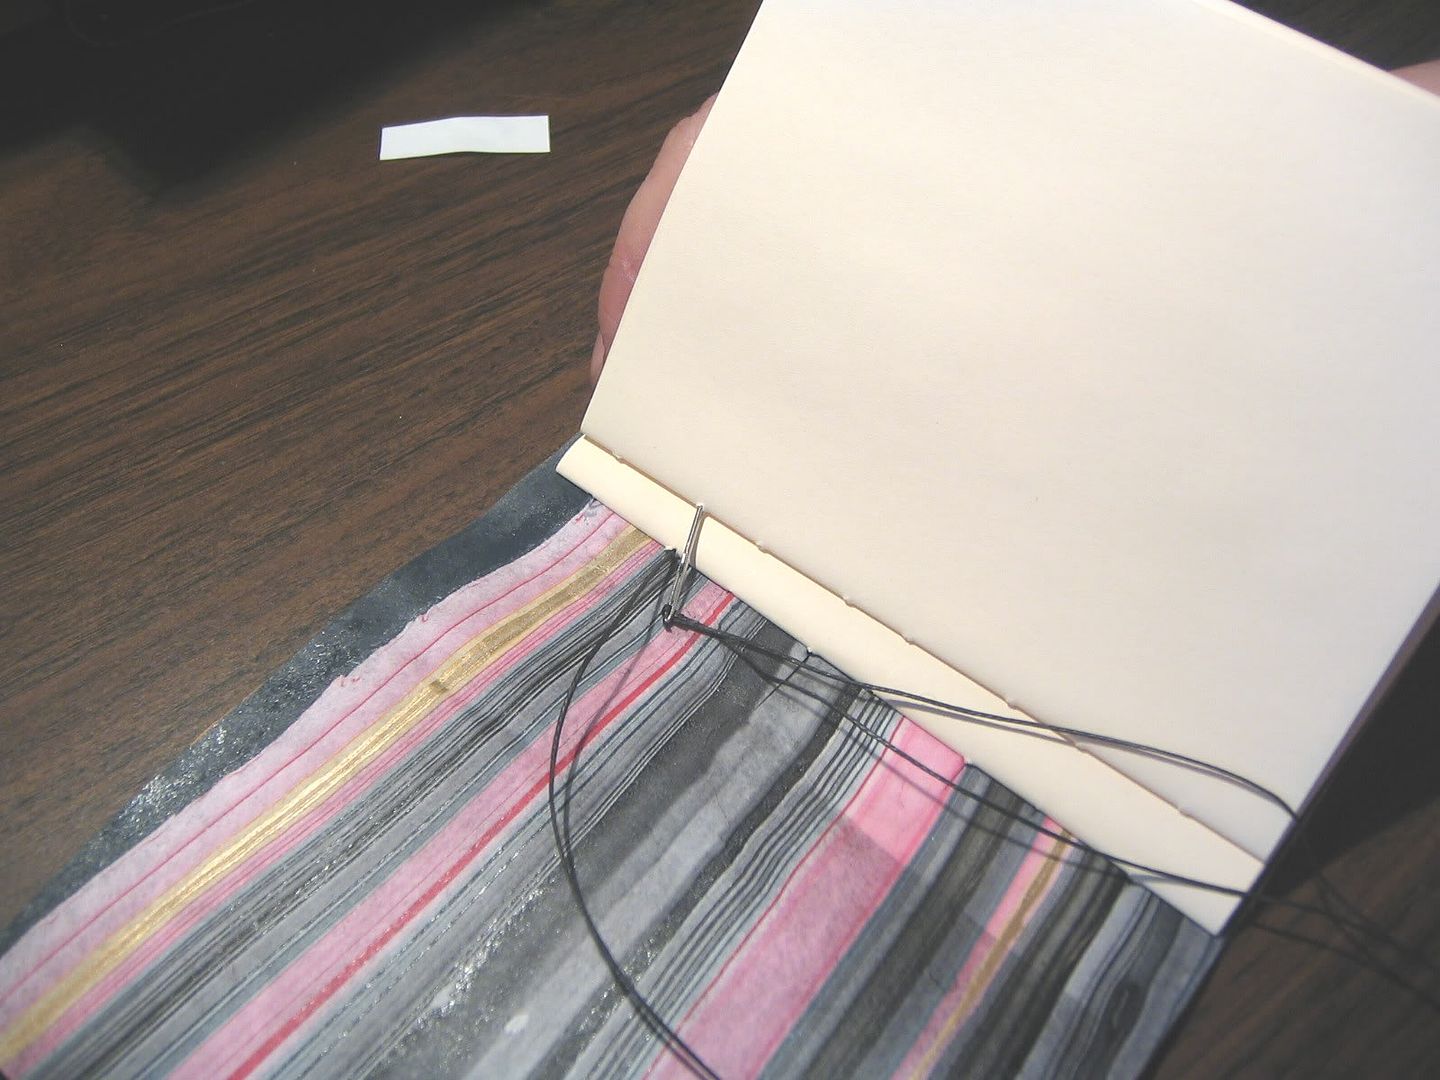
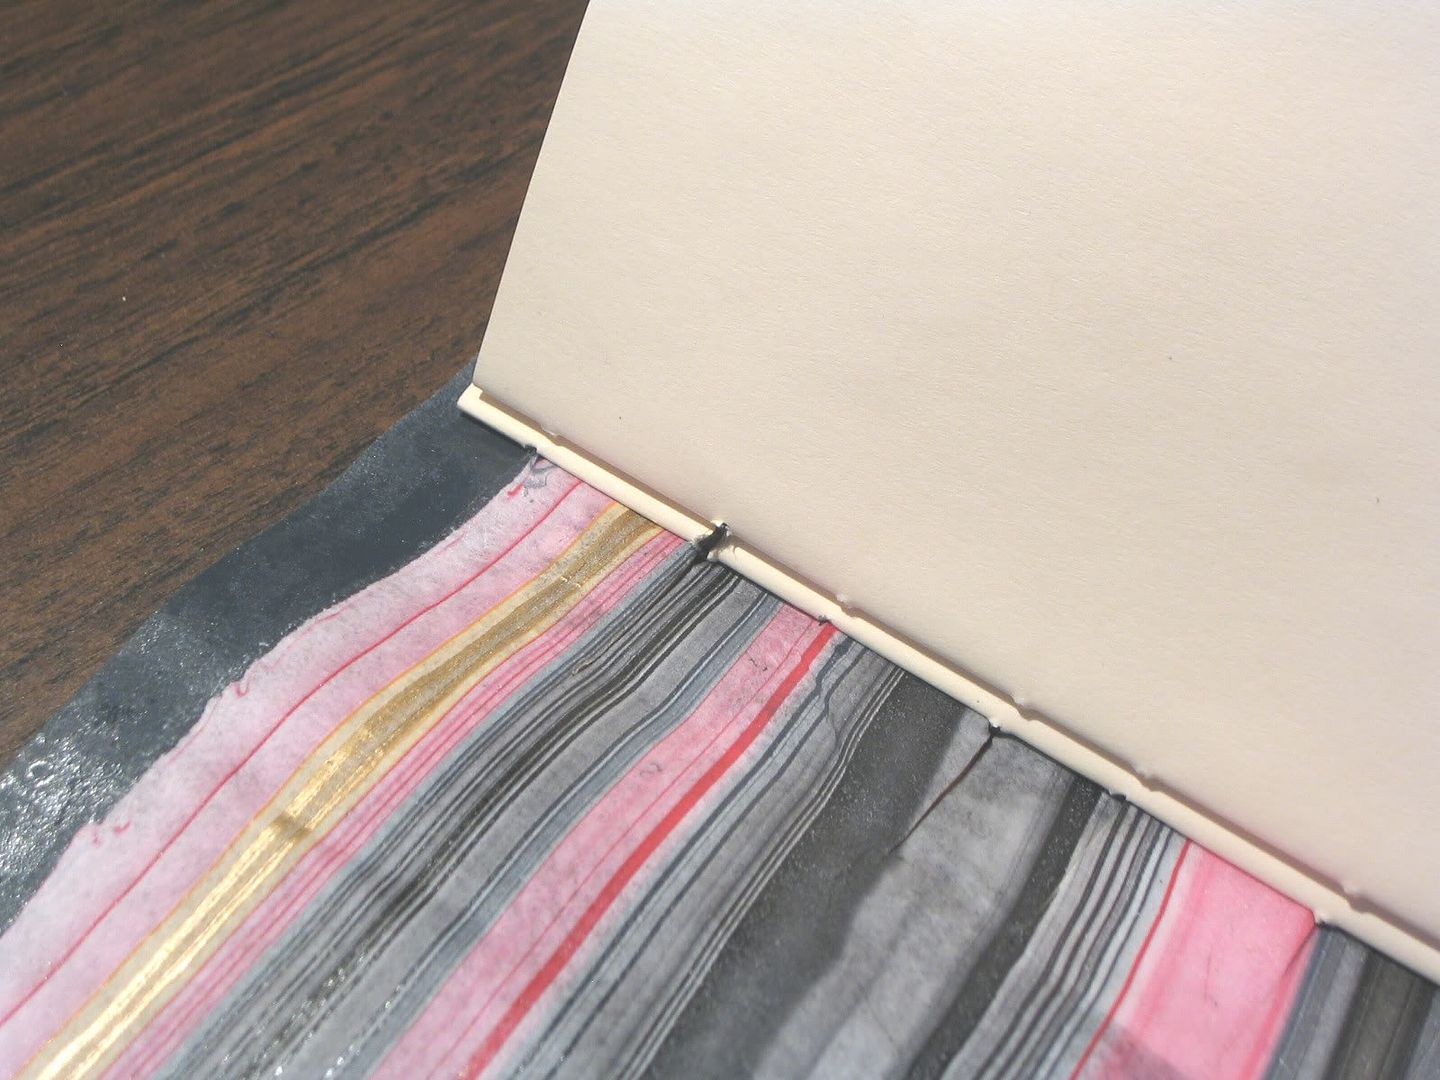
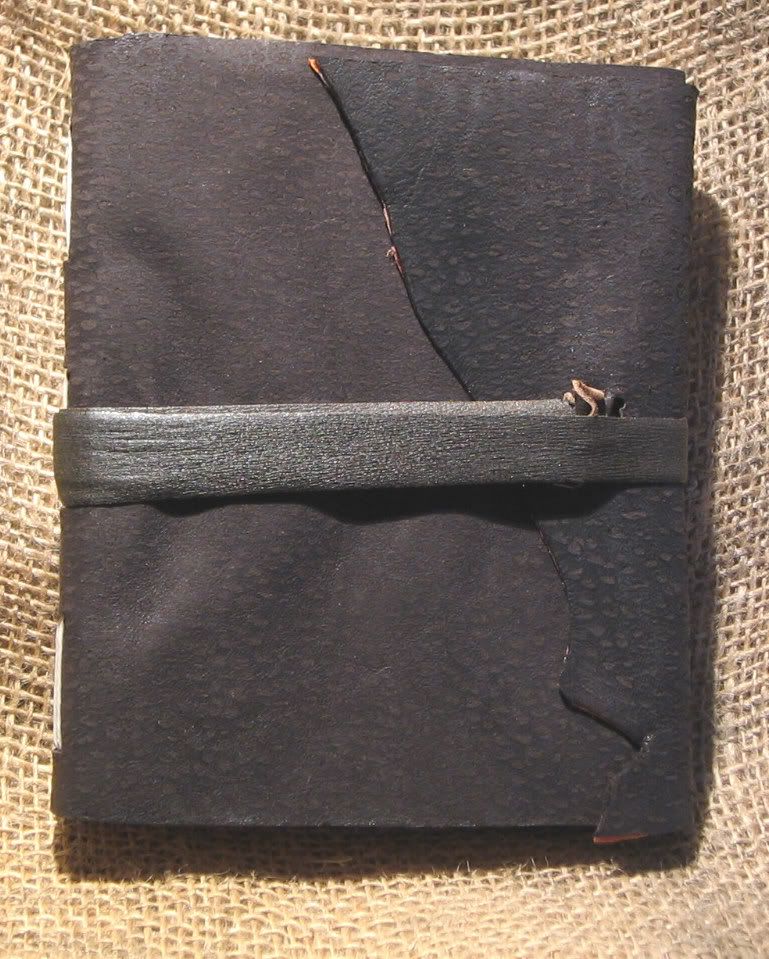
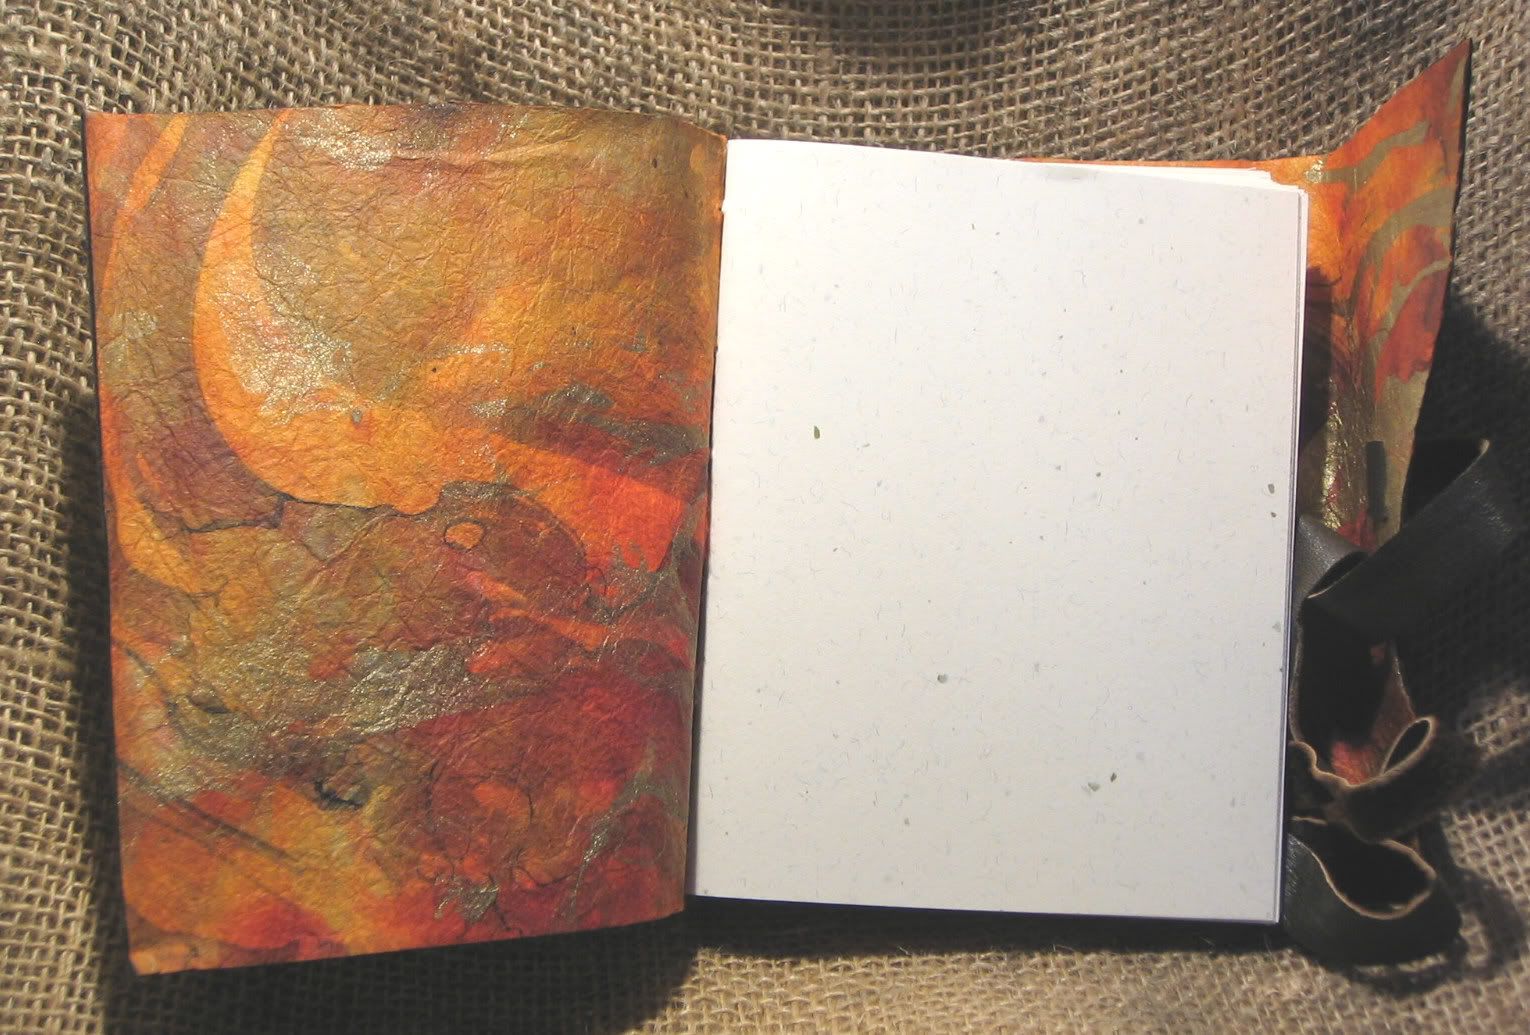
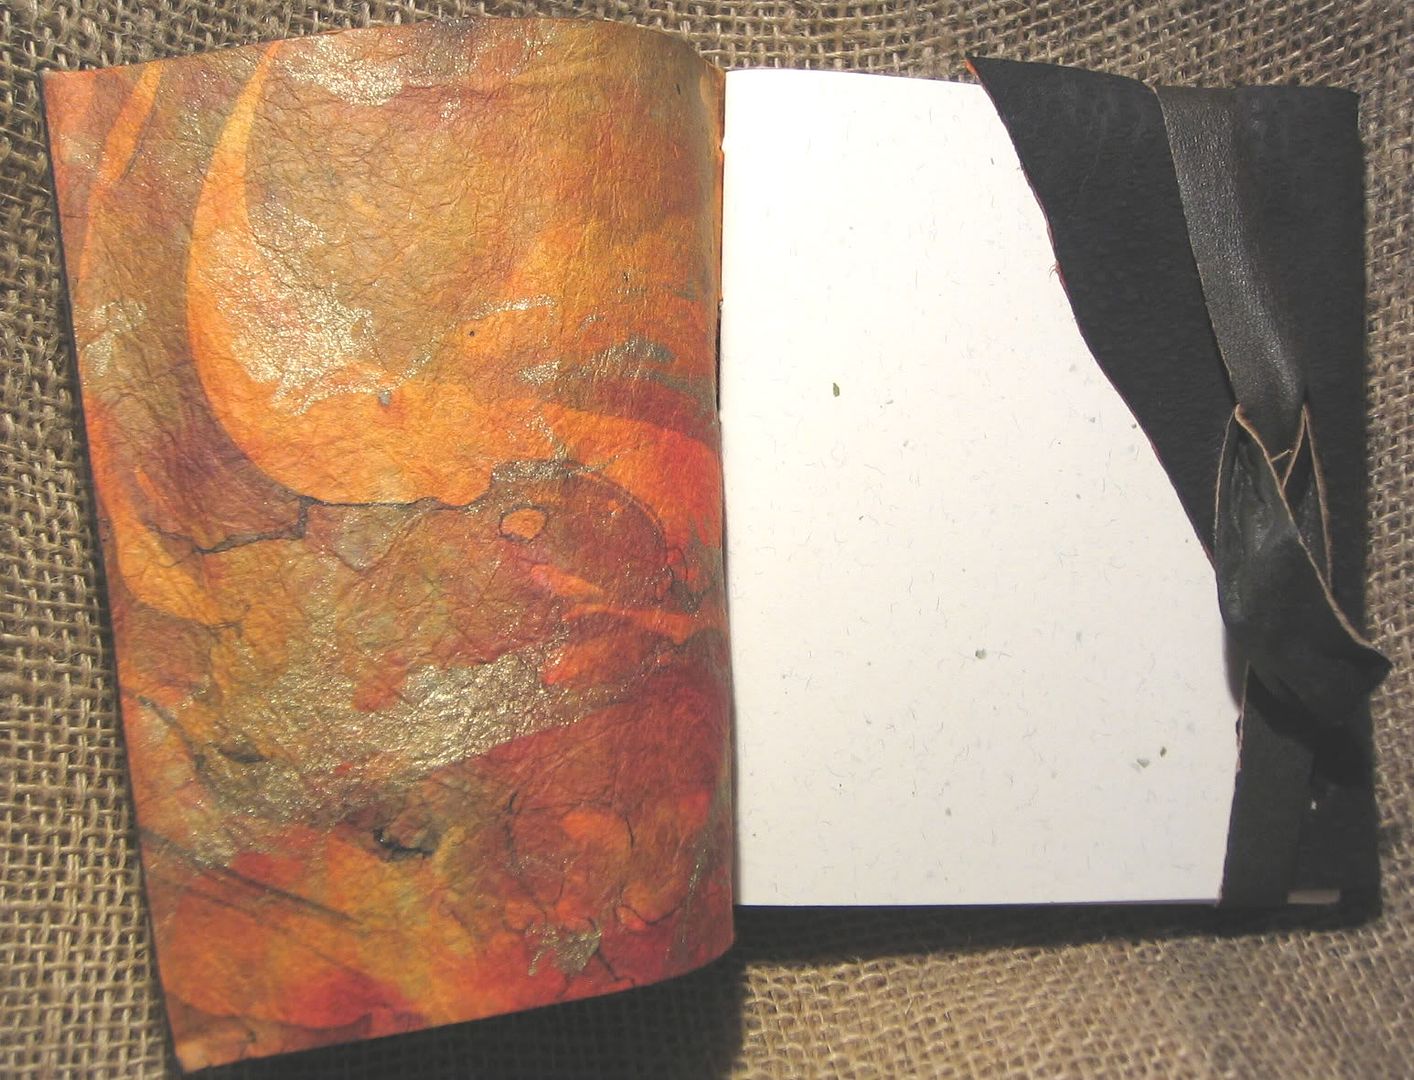
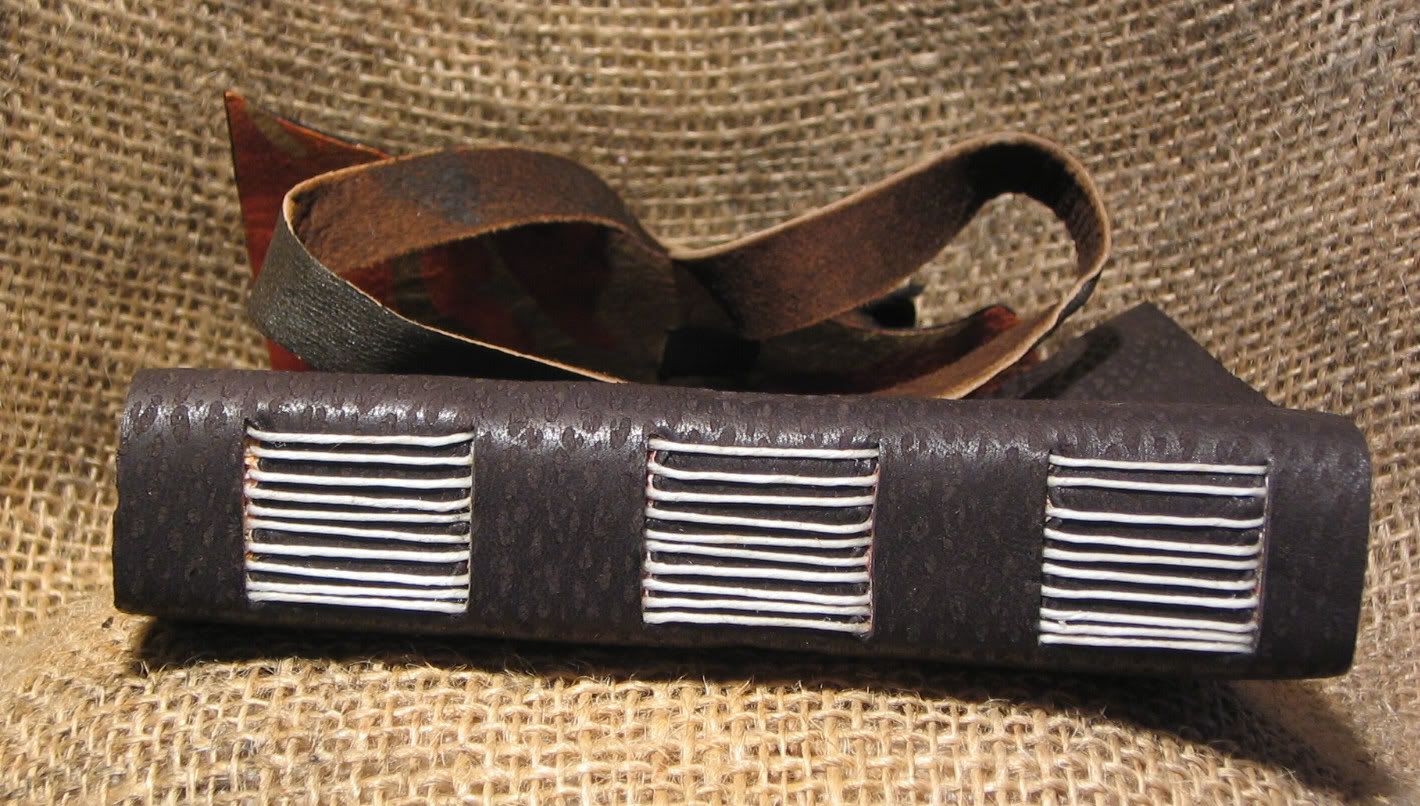
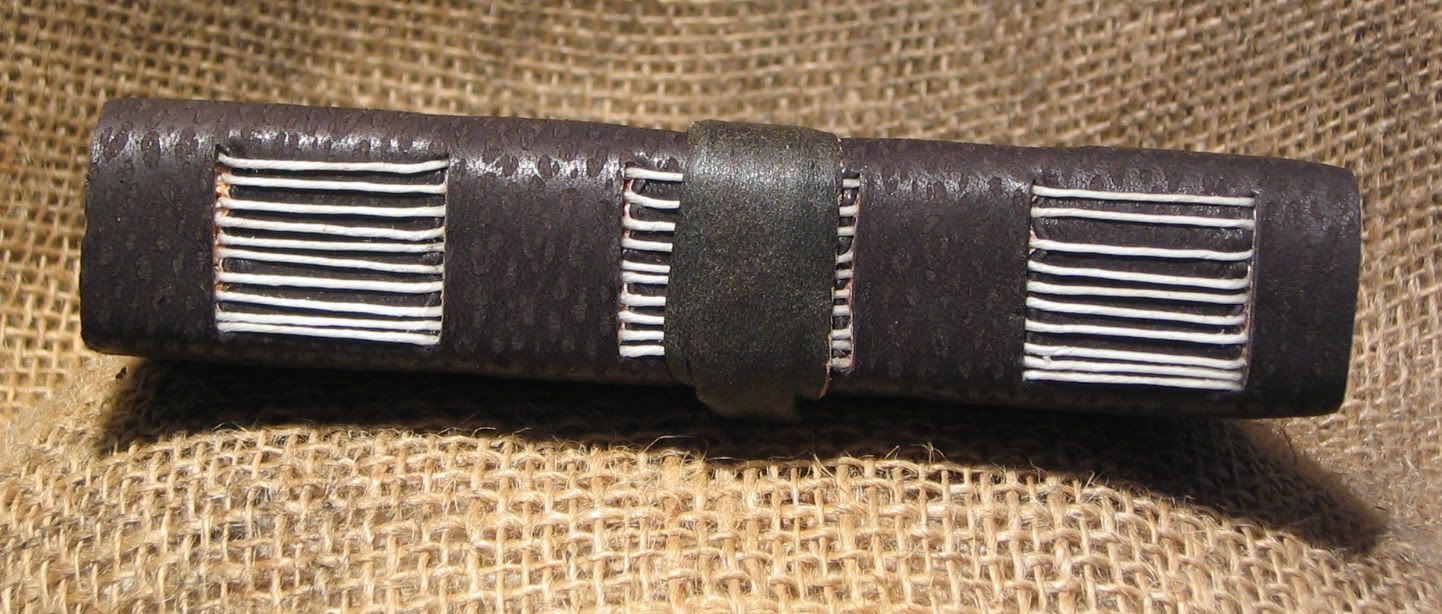
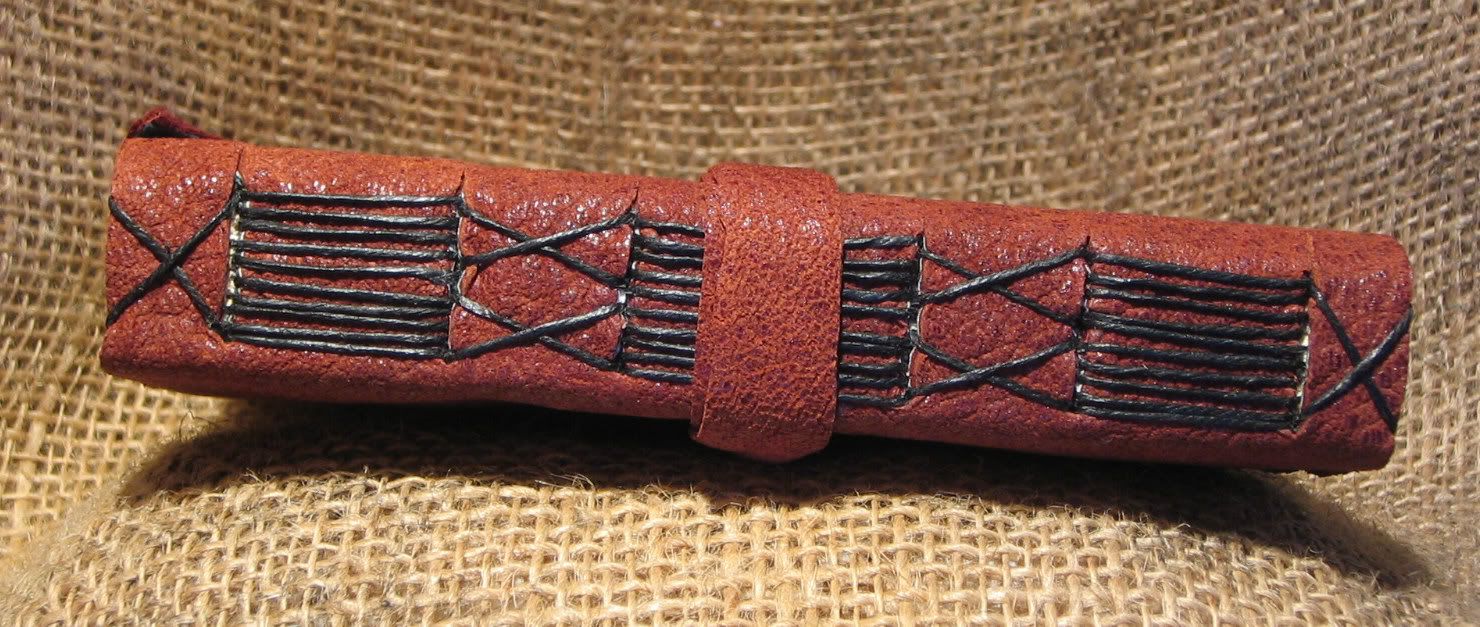
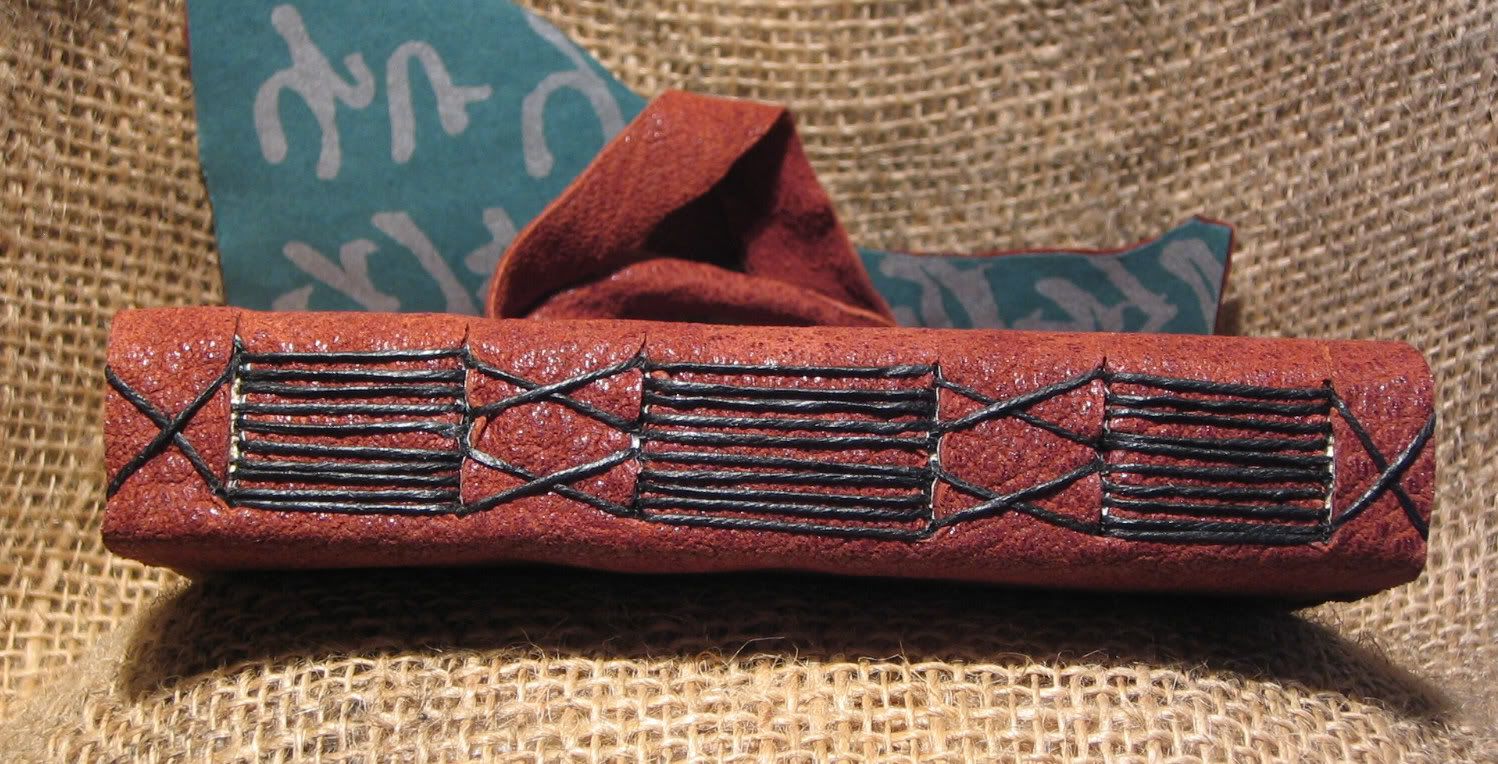
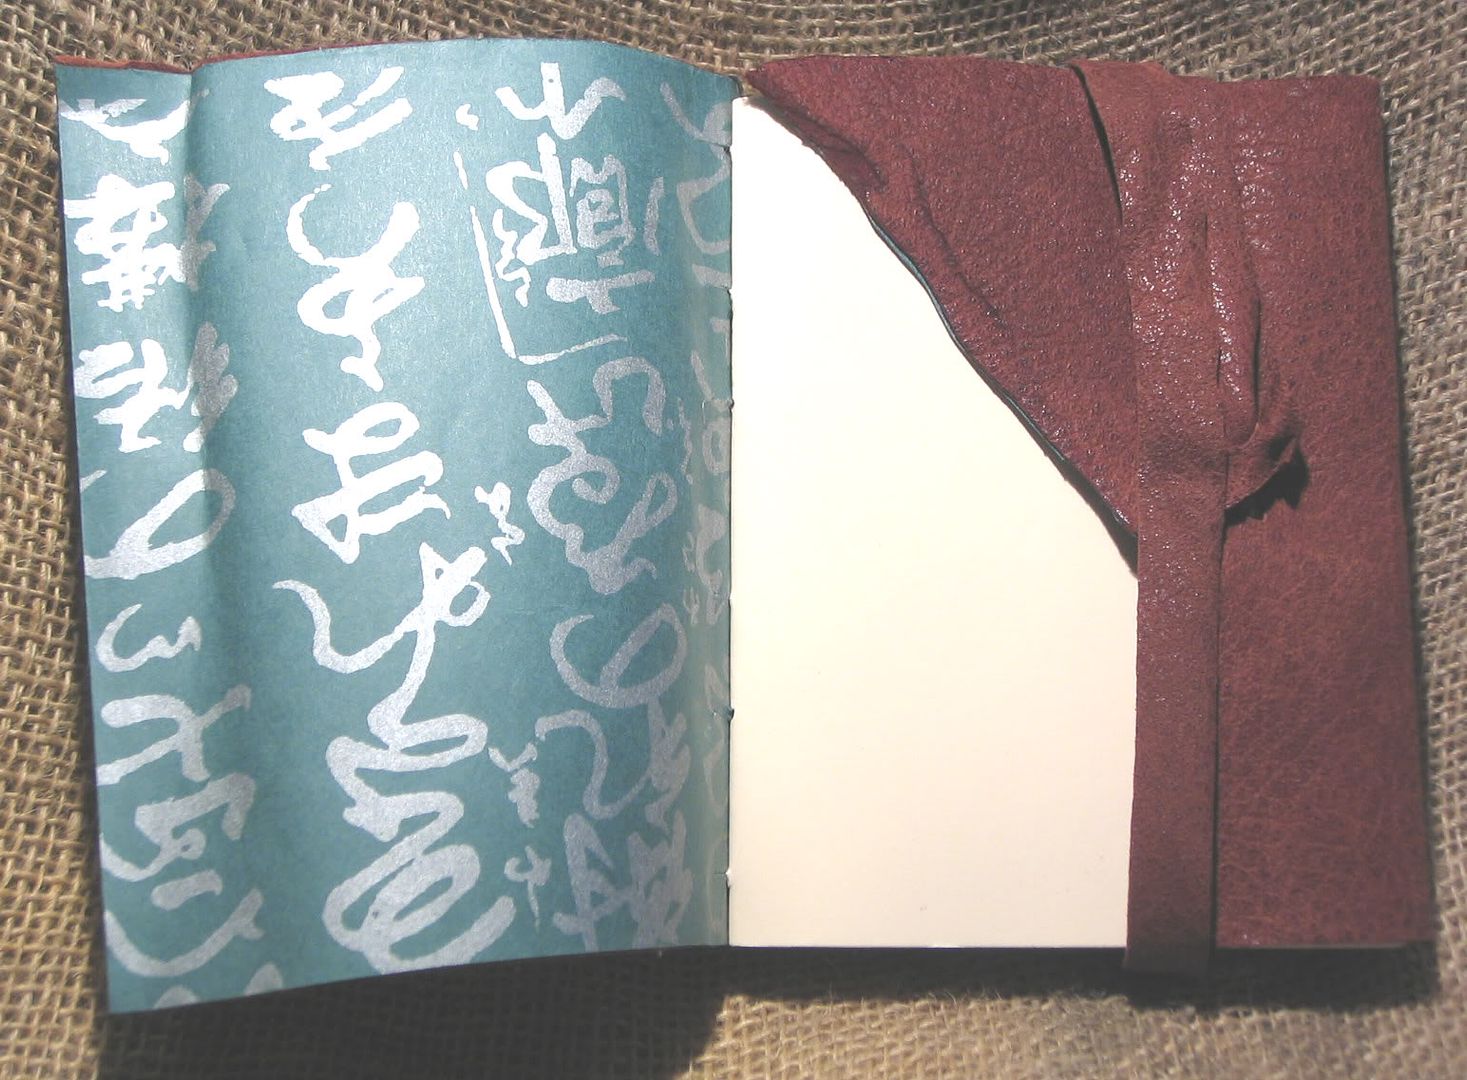
The gift journal.

Cutting, collating and folding the pages for the 10 book order.

Cutting the covers and backing the covers for the 10 book order

Spine templates for all those journals and a few others.

Designing those spines.

The mini watercolor journal, will go up on eBay probably tonight. Look for it. No pics yet, sorry.

I had the following issues to deal with:

Planning trip

Illness

Harry potter

The printer issues, being that the printer went on the fritz and I now have to reprint 5 books worth of lines. 5, that’s half. Half the sheets I printed were ruined by toner leaking. ARGH. It was a quarter of a ream- lost. Now I’m back to reprinting the lines at 10 page intervals so that tone won’t leak and I won’t ruin more paper.

Trip plans.

Trying to get a non-paying bidder to pay up, a lot of money.

Also hoping that 2 checks I’m waiting for in the mail arrive asap so I can process them and ship the books before I leave. (I usually wait until they clear, but in this case- someone with extremely high feedback, I’m going to trust that it will clear.)

So tonight I have a very full plate!

Call landlord, then pick up sample lease and a credit check form.

Finish printing lines.

Cut, fold and collate all lined pages.

THEN start printing 365 pages for the next journal I’m working on

Fold and collate that.

Report non payer on eBay if needed, offer second chance.

Gather all books I need to take with me to Maine to finish.

Order more natural linen.

Pics and more.

Sunday, July 17, 2005

Not much Book news

I 'm quite afraid to say that I've got not much to report here, i've made some covers, printed out a few hundred pages of lines, had my printer go on the fritz and bought the new harry potter book.

I've finished reading it, won't spoil it for you, but to say that it's very good.

the heat here has again been brutal and I'm simply waiting out the next 3 days for me to head to MAINE on vacation and enjoy some cool fresh air!


(Go figure that a book binder is an obsessive compulsive reader. I finished it in under 8 hours.)

Thursday, July 14, 2005

I made this for Christie


I made this for christie! It's the reddish brown pebbly textured sheep hide, backed with a thai washi style paper with imbedded pieces of sheet music. the inner paper is 24lb Fox river tree free bamboo paper. The sewing is a linked long stitch and false end bands in natural unbleached linen. there are 280 pages and it's an inch and a half thick but 4.25wX5.5h. It has my raw flap and strap closure.

She loves it and hopefully she will use it on our trip to maine!

Monday, July 11, 2005

Finished 5 today

I finished 5 journals today. 3 small and 2 large sized. All 200 pages with some sort of wausau paper. All with linen either natural or black, mostly natural.


I also managed to load up a couple of tutorials, one on long stitch and one on the weaver's knot. I may have to go back and add to the tutorials, as i may have forgotten steps.

Tomorrow I plan on cutting paper for journals and maybe soem covers as I have time. Definately some watercolor paper! the auction went amazingly well.

Sunday, July 10, 2005

Final hint

Say you get working on a signature adn everything is going well, but you nitice half way downt eh signature that thigns are uneven! Now is the tiem to fix it, don't think at the end you can manipulatethose threads into working for you- if you've done things right and things are tight you won't be able to move them much!

Let's say a stich is uneven, and you caught it before you finished that signature was done! Good!


Start my pulling out an inch or two of the thread!


Pull that thread down toward the signatures you have already sewn. Do this gently don't tear anything now!


After you do that, slowly pull the thread back into the signature, line it up careful as you pull it in. It should line up just right!

Helpful hints and tips

After every signature- pull the thread tight!


After you exit the signature ready to climb to the next close the signature and press down on the fold. Sometimes, depending on the paper, you can use a bone folder and it will make things easier. General rule of thumb- the thicker the paper the more you need a folder!

Long stitch tutorial part 2

Okay, now you've got your first signature done and your ready to climb up to the next. Think of your signature as steps on a ladder- you have to stand on one to get to the next.

In the first signature, you've just entered the inner fold on the last station of that signature. From here your going to drop down and exit the fold by enter the next station DOWN.


Pull the needle and thread through the signature but NOT through the spine.
like this:


After you pull the needle and thread through completely, you'll bring the 2nd signature over,line up the stations with the already attached signature and then enter the 2nd station down from the top. After you enter the 2nd station on the 2nd signature you'll pull the needle and thread the whole way into the fold of signature number 2.


You'll then exit the top station in the signature, and go through the signature and the cover!


Pull the thread tight and work down the spine in the opposite direction you originally were sewing the first signature. If you line up the thread and hold it against the spine with your thumb it's much easier to line the threads against the spine, making them even and equally tense.


After this repeat the process of sewing up and down the spine and climbing as you just did, for the number of signatures you had.

I'll load up a page of helpful hints next!

Long stitch tutorial part 1!

Due to popular demand I've decided to go ahead and work on a long stitch tutorial. I'm going to work on it in several parts, it's 31 pictures long!

This can work on paper covers, fabric covers and the leather covers I've demonstarted here.

First start with my tutorial on creating stations and measuring those onto your signatures. Cut stations on spine and punch stations in signatures. Once yout have that done chose your thread. I used waxed black linen- available in most hobby and craft stores with the jewlery findings. Youc an also use DMC cotton, knitting yarn and hemp craft thread/ cording. I actually really enjoy hemp thread. I recomend using a natural thread as it's more forgiving and won't tear your paper as easily as other threads. Polyester turns into a razor under sewing tesions and can make the easiest sewing painful and difficult. That being said, it can be used. If your thread isn't waxed- wax it! you can us a candle- just run the thread along it, under your thumb and it will get enough wax on it to stifen it a little and to help it run through the paper more esily.

A long stitch needs sets of holes- every hole needs a partner! Even numbers. If you want 3 sets of thread running along the spine you need 6 holes. Dig it?

I work back to front. Meaning I start with my last signature and work forward in the book. Start by entering the bottom station from the inner fold:


ONce you've entered that station you can thread your needle through the spine. Pull the needle through completely. Leaving a tail on the inside of the center fold. You'll need this to tie off one soon.


Then enter the next station up and pull the needle through and into the center fold of the signature.


Now your going to tie the working end of the thread to the tail left in the middle of the signature. Center the thread and knots over the station. The bulge of the knot will be hidden slightly by the room left by the hole.


Now exit the next station up from the station you just tied the knot over. Continue up the signature, entering and exiting stations as you come to them. When you get to the top station you have some steps to complete before you can go on.


First your going to tighten the tension of the thread. First place your hand on top of the open signature, hold it down gently. Hold onto the working end of the thread and pull gently away from you in the direction of your sewing. Don't pull the thread against the paper- it will tear! The tension of pulling on the thread can rip the whole signature along the fold.


Thats the end of part one of the tutorial. You've finished one signature and are ready to climb up to the next.

Weaver's Knot- a tutorial

I use the weaver's knot pretty often, somtimes I don't cut the thread long enough and osmetimes it's just too unweidly to use a thread that is long enough for 20+ signatures.

I've used several types of knots in my bindings and i have to say that I like the weaver's knot the best. It's not the smallest, but it serves it's purpose well. It's a knot that tension holds it in place, pull on the wrong side of the thread and it indoes itself. It' reversable so if you screw up somewhere you can fix it. I like that.

First form a loop: I curl my thread down and then up:


Then form an upside down U shape:


this shape then is pushed through the loop you made previously:


Now you need to pull this a little tighter so you can control it when you attach it to your old thread:


Be careful when pulling or you'll get a really long tail and no loop, and that thread is expensive!


Here's the finished loop:


I usually work my loop a little smaller but I thought it would be a good idea if I made it bigger so you could see it mroe easily.


Now you're ready to loop this over your old thread! Loop it so the working end- or the end you plan on putting a needle on i headed in the direction you plan on sewing- the tension it will create is essential to this knot.


Pull the loop tight around the old thread (black in this picture) but don't pull it tight yet! You do this buy pulling on both the working end and the tail end. At this point you can slide the thread aroundon the old thread and position it where you want it. i like to put it over a station soit doesn't flair my spine too much. You can also hide it some place where it can't be seen. Here's what it looks like:


At this point you have it positioned where you want it and you need to pull it tight. You do this by grabbing the working end and the tail end and you pull them away from each other hard, and you'll feel the knot "click" or slip into place. It will look like this:


The final step is to twist the tail and the old thread together, DON'T PULL ON THE TAIL, it will release the knot and you'll have to start all over again!


Practice this a little bit and it become second nature and you'll be able to tie it on the fly without thinking about it!

The LAST chocolate borwn journal


Rd Brown on eBay