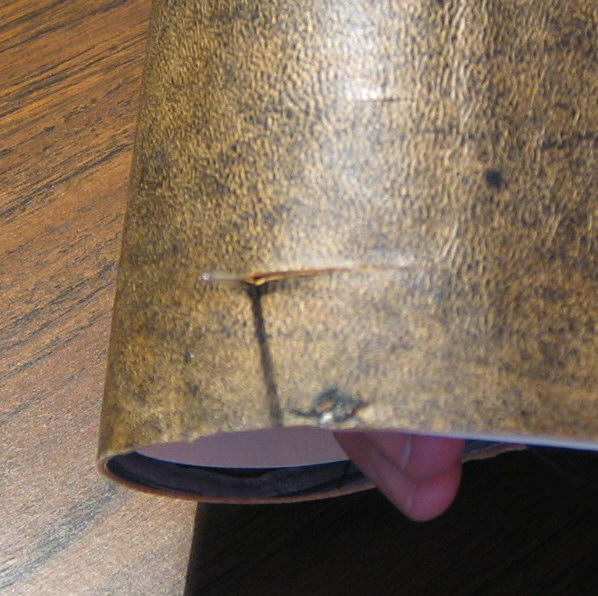
This can work on paper covers, fabric covers and the leather covers I've demonstarted here.
First start with my tutorial on creating stations and measuring those onto your signatures. Cut stations on spine and punch stations in signatures. Once yout have that done chose your thread. I used waxed black linen- available in most hobby and craft stores with the jewlery findings. Youc an also use DMC cotton, knitting yarn and hemp craft thread/ cording. I actually really enjoy hemp thread. I recomend using a natural thread as it's more forgiving and won't tear your paper as easily as other threads. Polyester turns into a razor under sewing tesions and can make the easiest sewing painful and difficult. That being said, it can be used. If your thread isn't waxed- wax it! you can us a candle- just run the thread along it, under your thumb and it will get enough wax on it to stifen it a little and to help it run through the paper more esily.
A long stitch needs sets of holes- every hole needs a partner! Even numbers. If you want 3 sets of thread running along the spine you need 6 holes. Dig it?
I work back to front. Meaning I start with my last signature and work forward in the book. Start by entering the bottom station from the inner fold:

ONce you've entered that station you can thread your needle through the spine. Pull the needle through completely. Leaving a tail on the inside of the center fold. You'll need this to tie off one soon.
Then enter the next station up and pull the needle through and into the center fold of the signature.

Now your going to tie the working end of the thread to the tail left in the middle of the signature. Center the thread and knots over the station. The bulge of the knot will be hidden slightly by the room left by the hole.

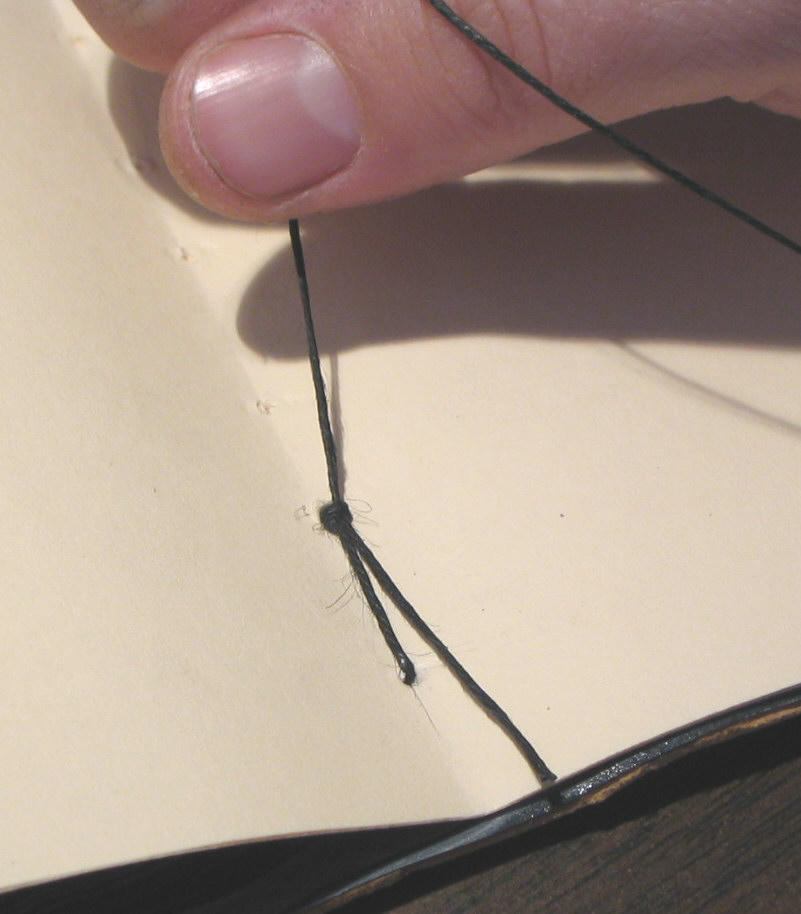
Now exit the next station up from the station you just tied the knot over. Continue up the signature, entering and exiting stations as you come to them. When you get to the top station you have some steps to complete before you can go on.

First your going to tighten the tension of the thread. First place your hand on top of the open signature, hold it down gently. Hold onto the working end of the thread and pull gently away from you in the direction of your sewing. Don't pull the thread against the paper- it will tear! The tension of pulling on the thread can rip the whole signature along the fold.

Thats the end of part one of the tutorial. You've finished one signature and are ready to climb up to the next.


2 comments:
If you would just take your time to know your way around, you could discover a lot of premium products and services being offered for free.
It pretty much covers FREE Marketing related stuff.
Post a Comment