I've used several types of knots in my bindings and i have to say that I like the weaver's knot the best. It's not the smallest, but it serves it's purpose well. It's a knot that tension holds it in place, pull on the wrong side of the thread and it indoes itself. It' reversable so if you screw up somewhere you can fix it. I like that.
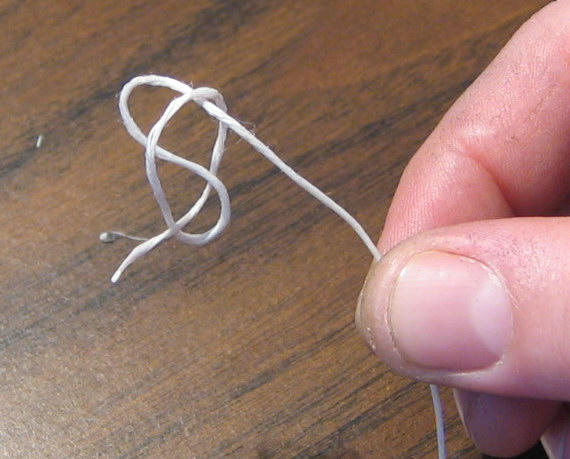
First form a loop: I curl my thread down and then up:

Then form an upside down U shape:

this shape then is pushed through the loop you made previously:
Now you need to pull this a little tighter so you can control it when you attach it to your old thread:
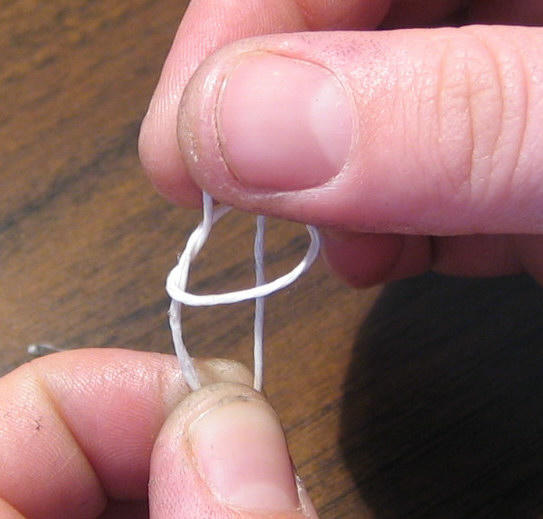
Be careful when pulling or you'll get a really long tail and no loop, and that thread is expensive!

Here's the finished loop:
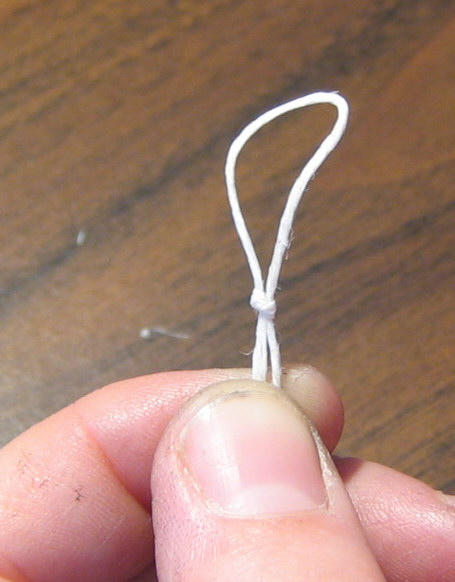
I usually work my loop a little smaller but I thought it would be a good idea if I made it bigger so you could see it mroe easily.
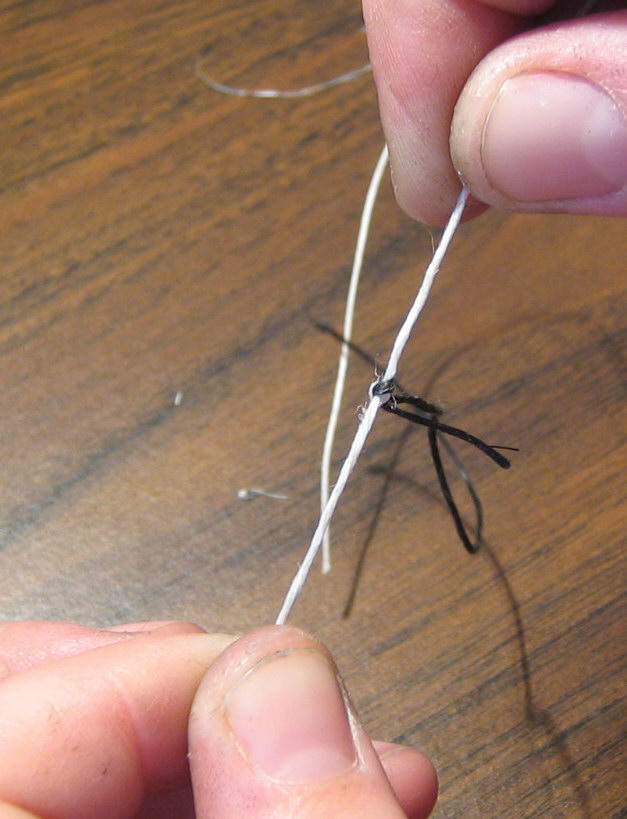
Now you're ready to loop this over your old thread! Loop it so the working end- or the end you plan on putting a needle on i headed in the direction you plan on sewing- the tension it will create is essential to this knot.

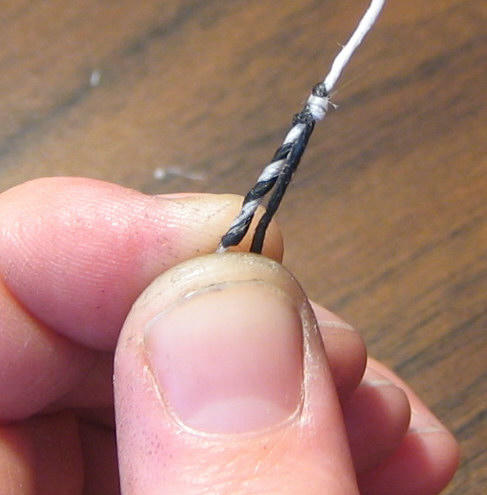
Pull the loop tight around the old thread (black in this picture) but don't pull it tight yet! You do this buy pulling on both the working end and the tail end. At this point you can slide the thread aroundon the old thread and position it where you want it. i like to put it over a station soit doesn't flair my spine too much. You can also hide it some place where it can't be seen. Here's what it looks like:

At this point you have it positioned where you want it and you need to pull it tight. You do this by grabbing the working end and the tail end and you pull them away from each other hard, and you'll feel the knot "click" or slip into place. It will look like this:

The final step is to twist the tail and the old thread together, DON'T PULL ON THE TAIL, it will release the knot and you'll have to start all over again!
Practice this a little bit and it become second nature and you'll be able to tie it on the fly without thinking about it!


9 comments:
What a wonderful invention it is, this thing we call the Internet!
Clear and concise instruction. Thanks.
Thanks!
>> Now you're ready to loop this over your old thread! Loop it so the working end- or the end you plan on putting a needle on i headed in the direction you plan on sewing- the tension it will create is essential to this knot.<<
Probably you mean "is headed"? And please spell check the instructions - "osmetimes" is little hard on the eyes!
hey anonymous grow a set and leave a name and then get over yourself.
I was just trying to improve your excellent explanation!
It's all good in the 'hood. I'm just being sarcastic. :)
"Now you need to pull this a little tighter so you can control it when you attach it to your old thread:" - photo doesnt show where do you pull with your left hand. I am trying now and it works about 25% of times and I am trying to figure out why.
ok. I found that if the 2 threads were crossed over each other when I thread the old thread into the loop it won't lock into place. also sometimes I need to use pliers to get it to lock into place. and it def. helps if it's lightly waxed.
Really helpful clear instructions - thankyou very much for this!
Post a Comment